Recipes

Flourless Chocolate Brownies With Sea Salt

A few of my proudest accomplishments this year include: landed a full-time job in photography, tried out and stayed on a sports team this spring (the last time I played in competitive sports was elementary school), signed a lease on an apartment (cannot wait to move in next month), committing to put down roots in this very transitional city of Vancouver, and the creation of these fabulous flourless chocolate brownies. 

On days when I feel doubt about trading my creative freelance life for a nine to five — I make brownies and take them into the office. It is simply impossible to eat more than 3 pieces of these brownies and having coworkers to share them with is a very convenient situation. I promise you these will hit the spot when you need a chocolatey, decadent treat in hope that you can stop at three pieces. 

You know you have created an excellent brownie when both of the recipe developers at work ask you for the recipe. I first had these at a ladies night and immediately asked my friend for the recipe. I am pretty sure the original creator is Nicole Spiridakis. Here is my version with reduced sugar, roasted nuts and sprinkled with maldon sea salt

Ps: I made the call and finally ordered a cooking scale off the internet. It really is worth it when you want to use up the many dark chocolate bars sitting in your cupboard and not worry about fitting them into measuring cups. 

Flourless Chocolate Brownies With Sea Salt and Nuts

140g dark chocolate
155g (1/2 cup) unsalted butter
200g brown sugar
3 large eggs, lightly beaten
50g (1/2 cup) cocoa powder
1/4 tsp salt
1.5 tsp vanilla extract
1/3 cup almond or walnuts, chopped
Maldon sea salt for garnish (optional)

  1. Preheat oven to 350 F. Line a baking pan or sheet with parchment paper.
  2. In short 15-20 second intervals, melt chocolate and butter in the microwave and stir until smooth. Set aside too cool. Add brown sugar, eggs, cocoa powder, salt and vanilla. Mix well. Transfer batter to baking pan or sheet with a spatula. Top with walnuts.
  3. Bake for 20-30 minutes or until brownie is set and firm in the centre. Time will vary depending on container size. Let sit until cool before cutting into pieces. Top with a sprinkle of flaky sea salt.

These are very delicious eaten cool or slightly warmed. They also keep well in the fridge up to a week. If they last that long.

The Easiest Kombu Dashi Recipe

This post has been updated on my website here.

Here is a recipe for a tasty vegetarian broth made from Kombu (kelp) and shitake mushrooms. Seaweed is one of those things that are full of minerals and really good for you. I would use this in place of vegetable stock, add to chawanmushi (steamed egg curd), or add to the base of miso soup.

When I lived in Northern China, I often saw older ladies and aunties harvesting bundles of green seaweed by the sea. They earned the title “Sea Women” from the locals which I found rather comical. Those trips to the fish market were quite exotic and I remember seeing starfish, the tiniest red lobsters, and weird-looking fish. I think of those days with fondness now. Making these recipes make me recall a lot of the shabu-shabu (Japanese hot pot), light broths and dishes I had growing up in Taipei.

Ingredients
4 dried shitake mushrooms, rinsed
A handful of Kelp (gently wiped, do not rinse)

Instructions
Add ingredients with 2-3 cups of water in jar or container. Leave to soak for a few hours. I keep mine in the fridge overnight. Discard the kombu but you can slice the shitake’s into the soup.

*Add bonito flakes for a richer, non-vegetarian broth. I made the mistake of washing my kombu for the first time and realized the white residue on top is what brings the umami flavour to the soup. Don’t rinse the Kombu!

How to Make Tuna Onigiri Rice Balls

This post has been updated on my website here.

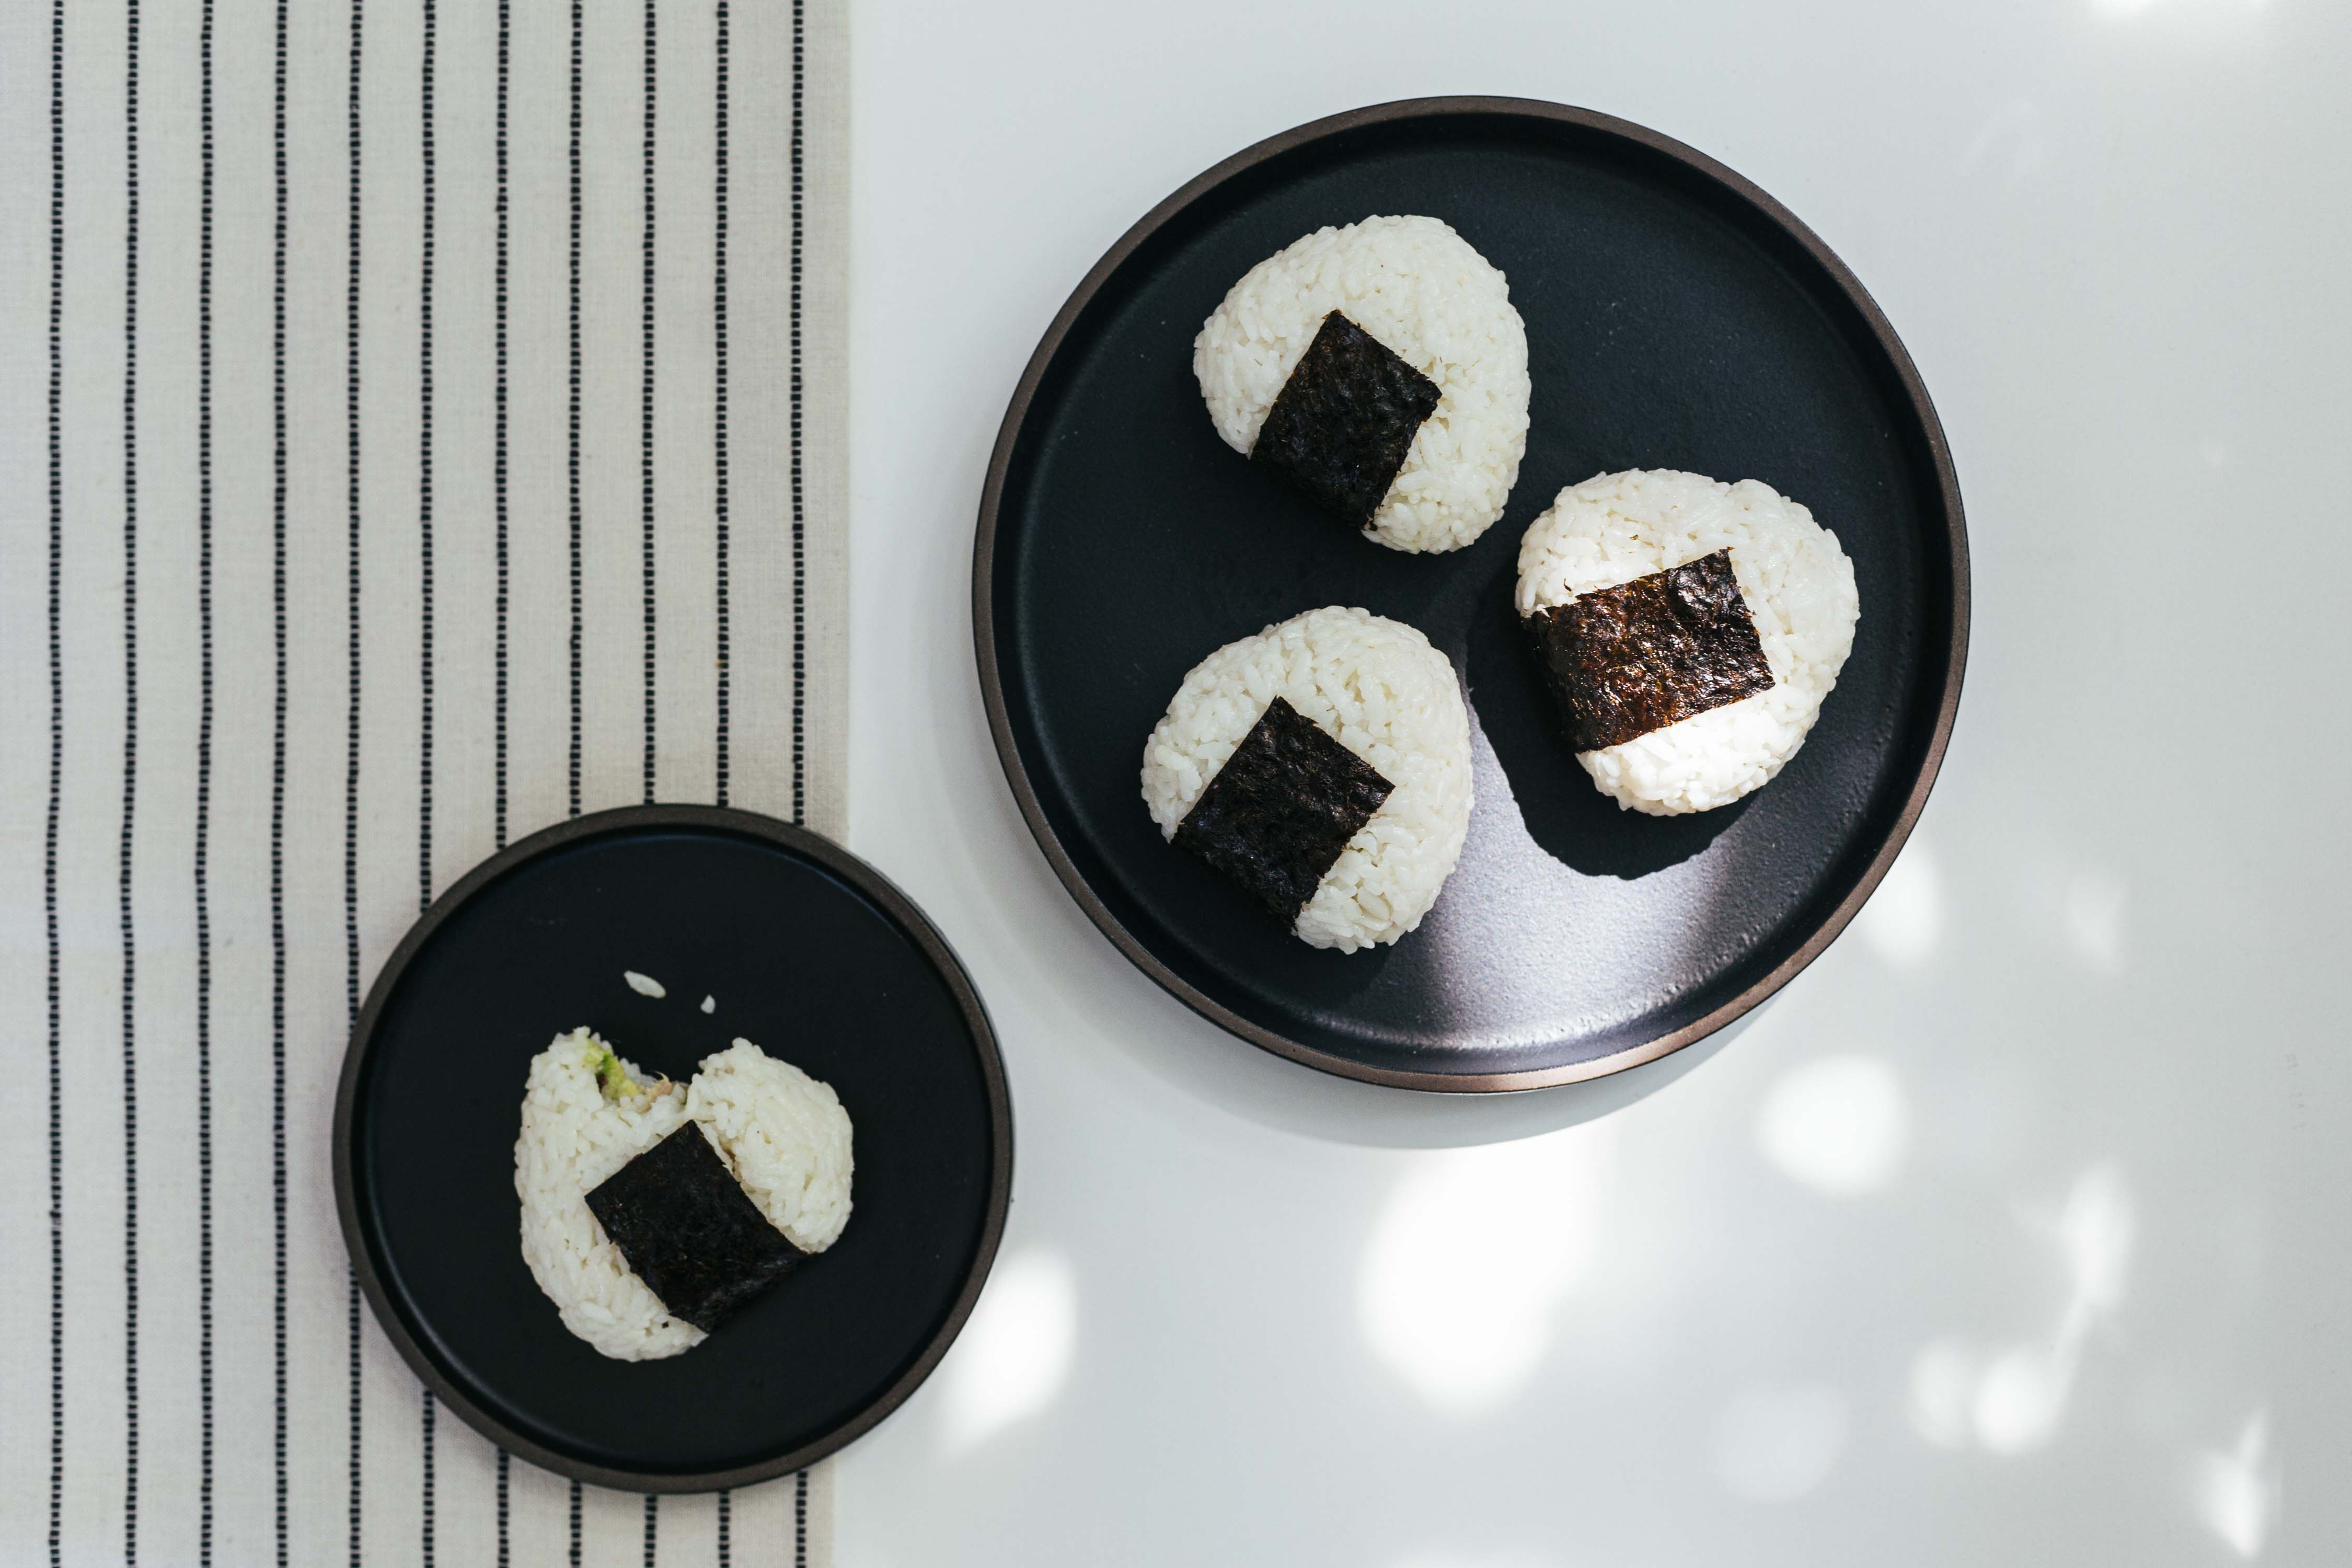
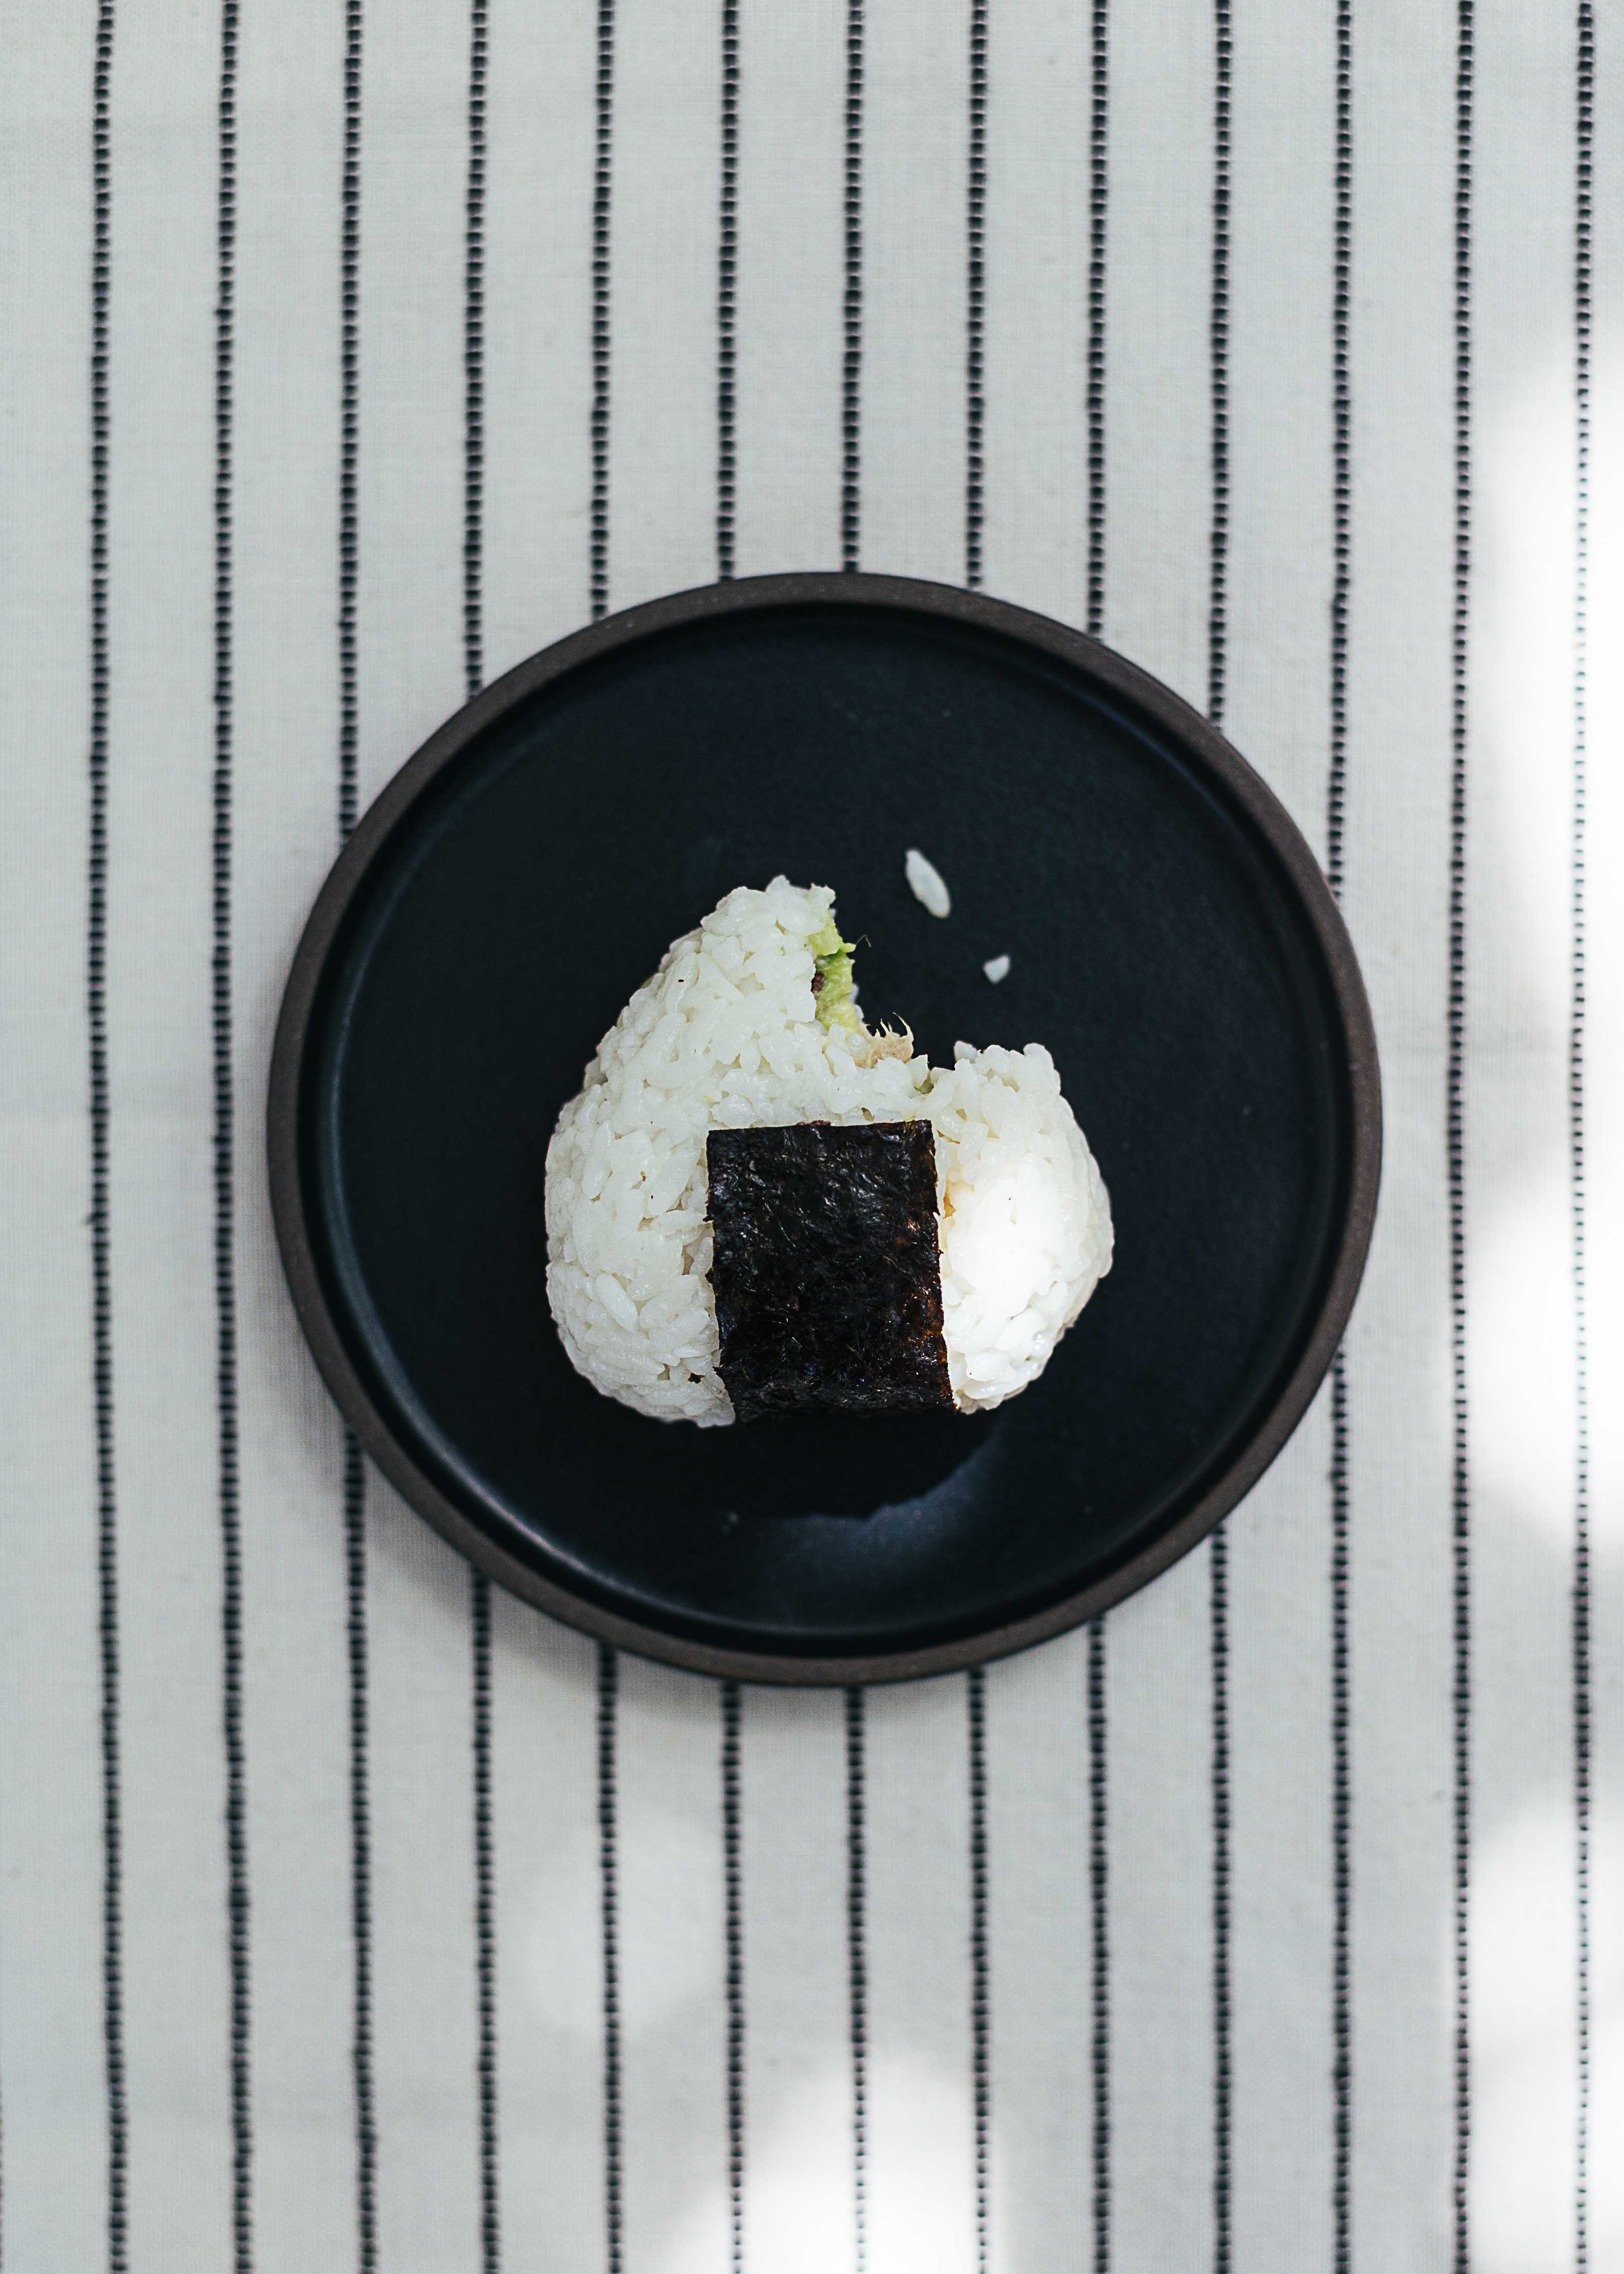
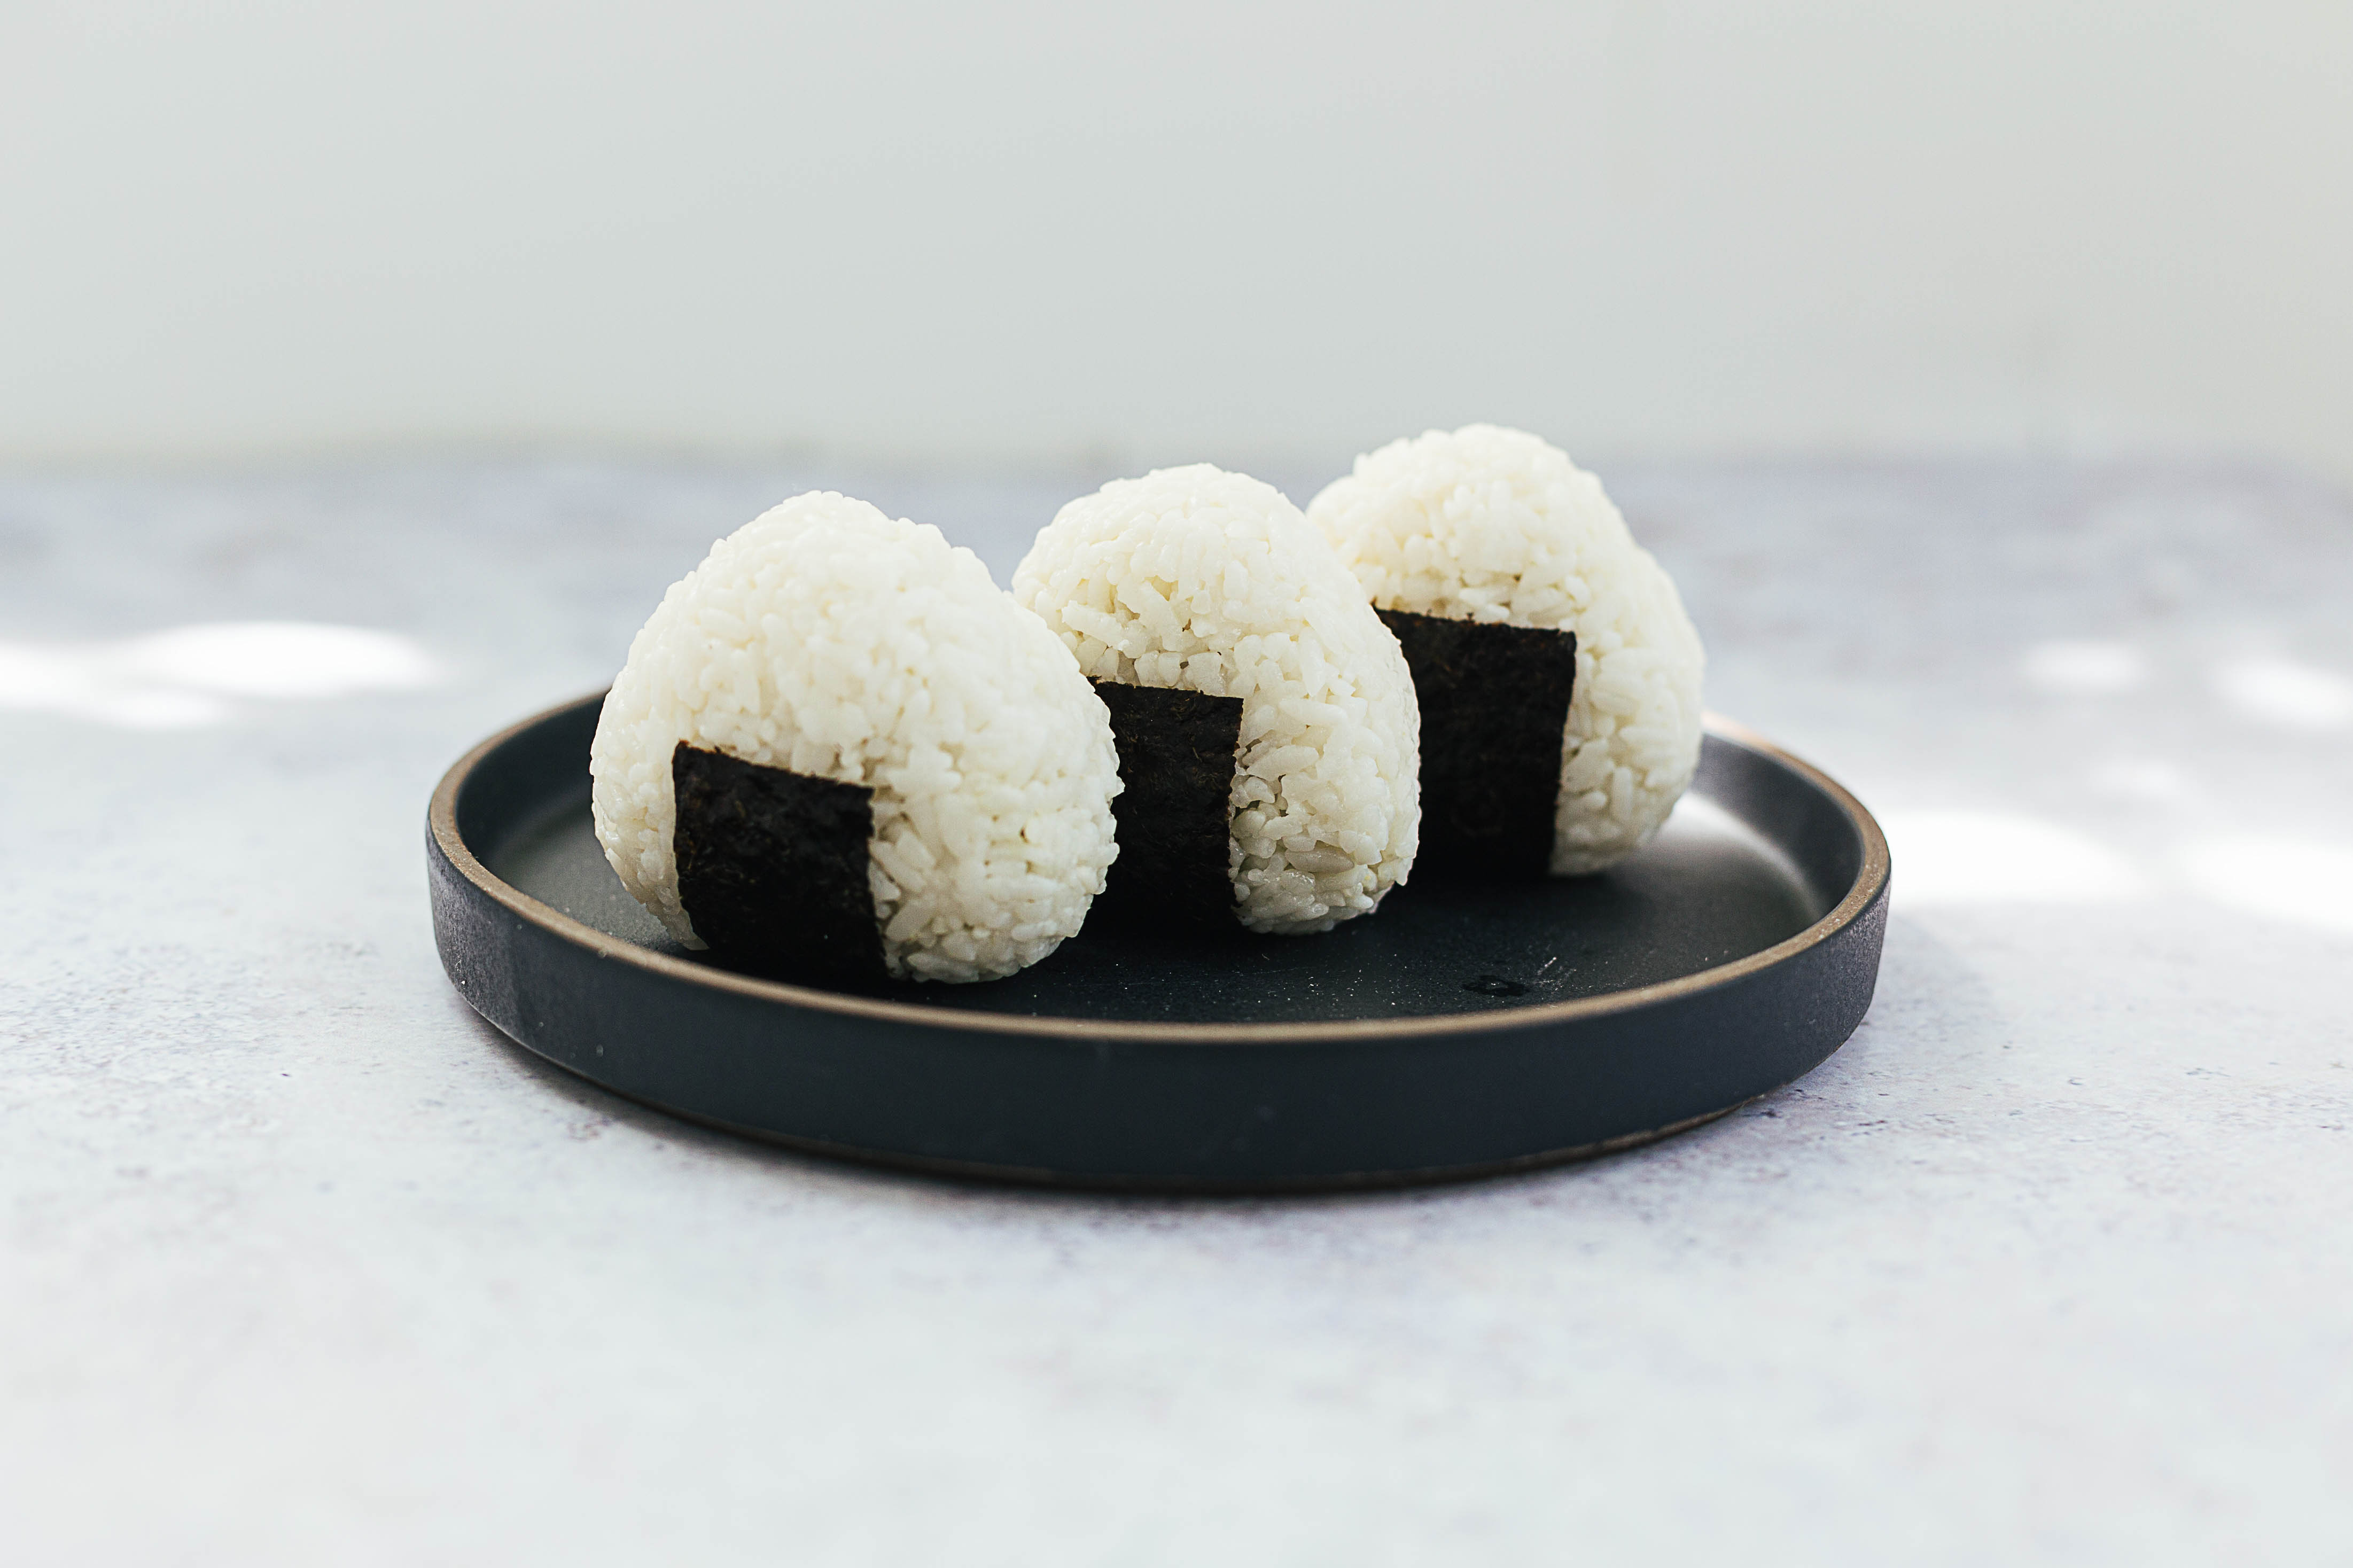
Onigiri! This is a recipe for a little snack that accompanied my childhood years in Taiwan. Found in all of the 7–11 or convenience stores, these triangle-shaped rice balls were many of my breakfast, lunch and late-night snacks.

Even though I have never been to Japan, Taiwanese culture is a culture that is greatly influenced by Japan — who ruled over Taiwan in the 1800s. Some of the influence can be found in old Japanese buildings that are now tea houses or galleries, neat lines at the MRT, my grandpa who spoke Japanese, and a millennial generation that is all about Japanese culture.

These onigiri’s! I remember standing in my school uniform (white collared shirt, pleated skirt, bright orange hat), eagerly choosing my flavour of the day. My favourites — pork floss with mayo, egg, salmon, or chicken teriyaki. Sometimes I would opt out of onigiri’s and go for the traditional Taiwanese rice balls. A heavier version made with sticky rice, fried salty donut, radish pickles, stuffed with pork floss and sprinkled with peanut sugar. They were heavy enough to fill you for hours and go down your tummy very well with a cup of soy milk.

There is something about rolling and shaping warm rice together in your palms. I don’t know if it is the scent of warm rice or act of making onigiri’s that make me want to eat them immediately after. These are great as snacks on the go, picnics, a light meal, or give away and impress your friends.

Tuna Onigiri Rice Balls

Ingredients

1 cup uncooked sushi rice
2 tbs rice wine vinegar
1 tsp sugar
1/2 tsp salt
1 green onion stem, thinly sliced (you can also use cucumber)
1 can of tuna in salted water
1/2 avocado, diced
2 tbs greek yogurt (or mayo)
1 nori sheet, cut into small rectangles

Instructions

  1. Wash rice in a sieve until water is clear. Add 1.5 cup of water and cook until rice is tender. About 15 mins. Let cool.
  2. While rice is cooking, mix can of tuna (squeeze saltwater out with lid when you open the can), avocado, green onions and greek yogurt. Mash and add salt and pepper to taste
  3. Gently fluff rice with a fork. Fold in sugar, rice wine vinegar and salt with a spatula. Don’t over mix.
  4. Place a piece of saran wrap on your hand and measure 1/3 cup of seasoned rice into the wrap. Flatten rice into a flat shape and create an indent in the centre. Spoon in tuna filling and gently form rice into a ball using the saran wrap.
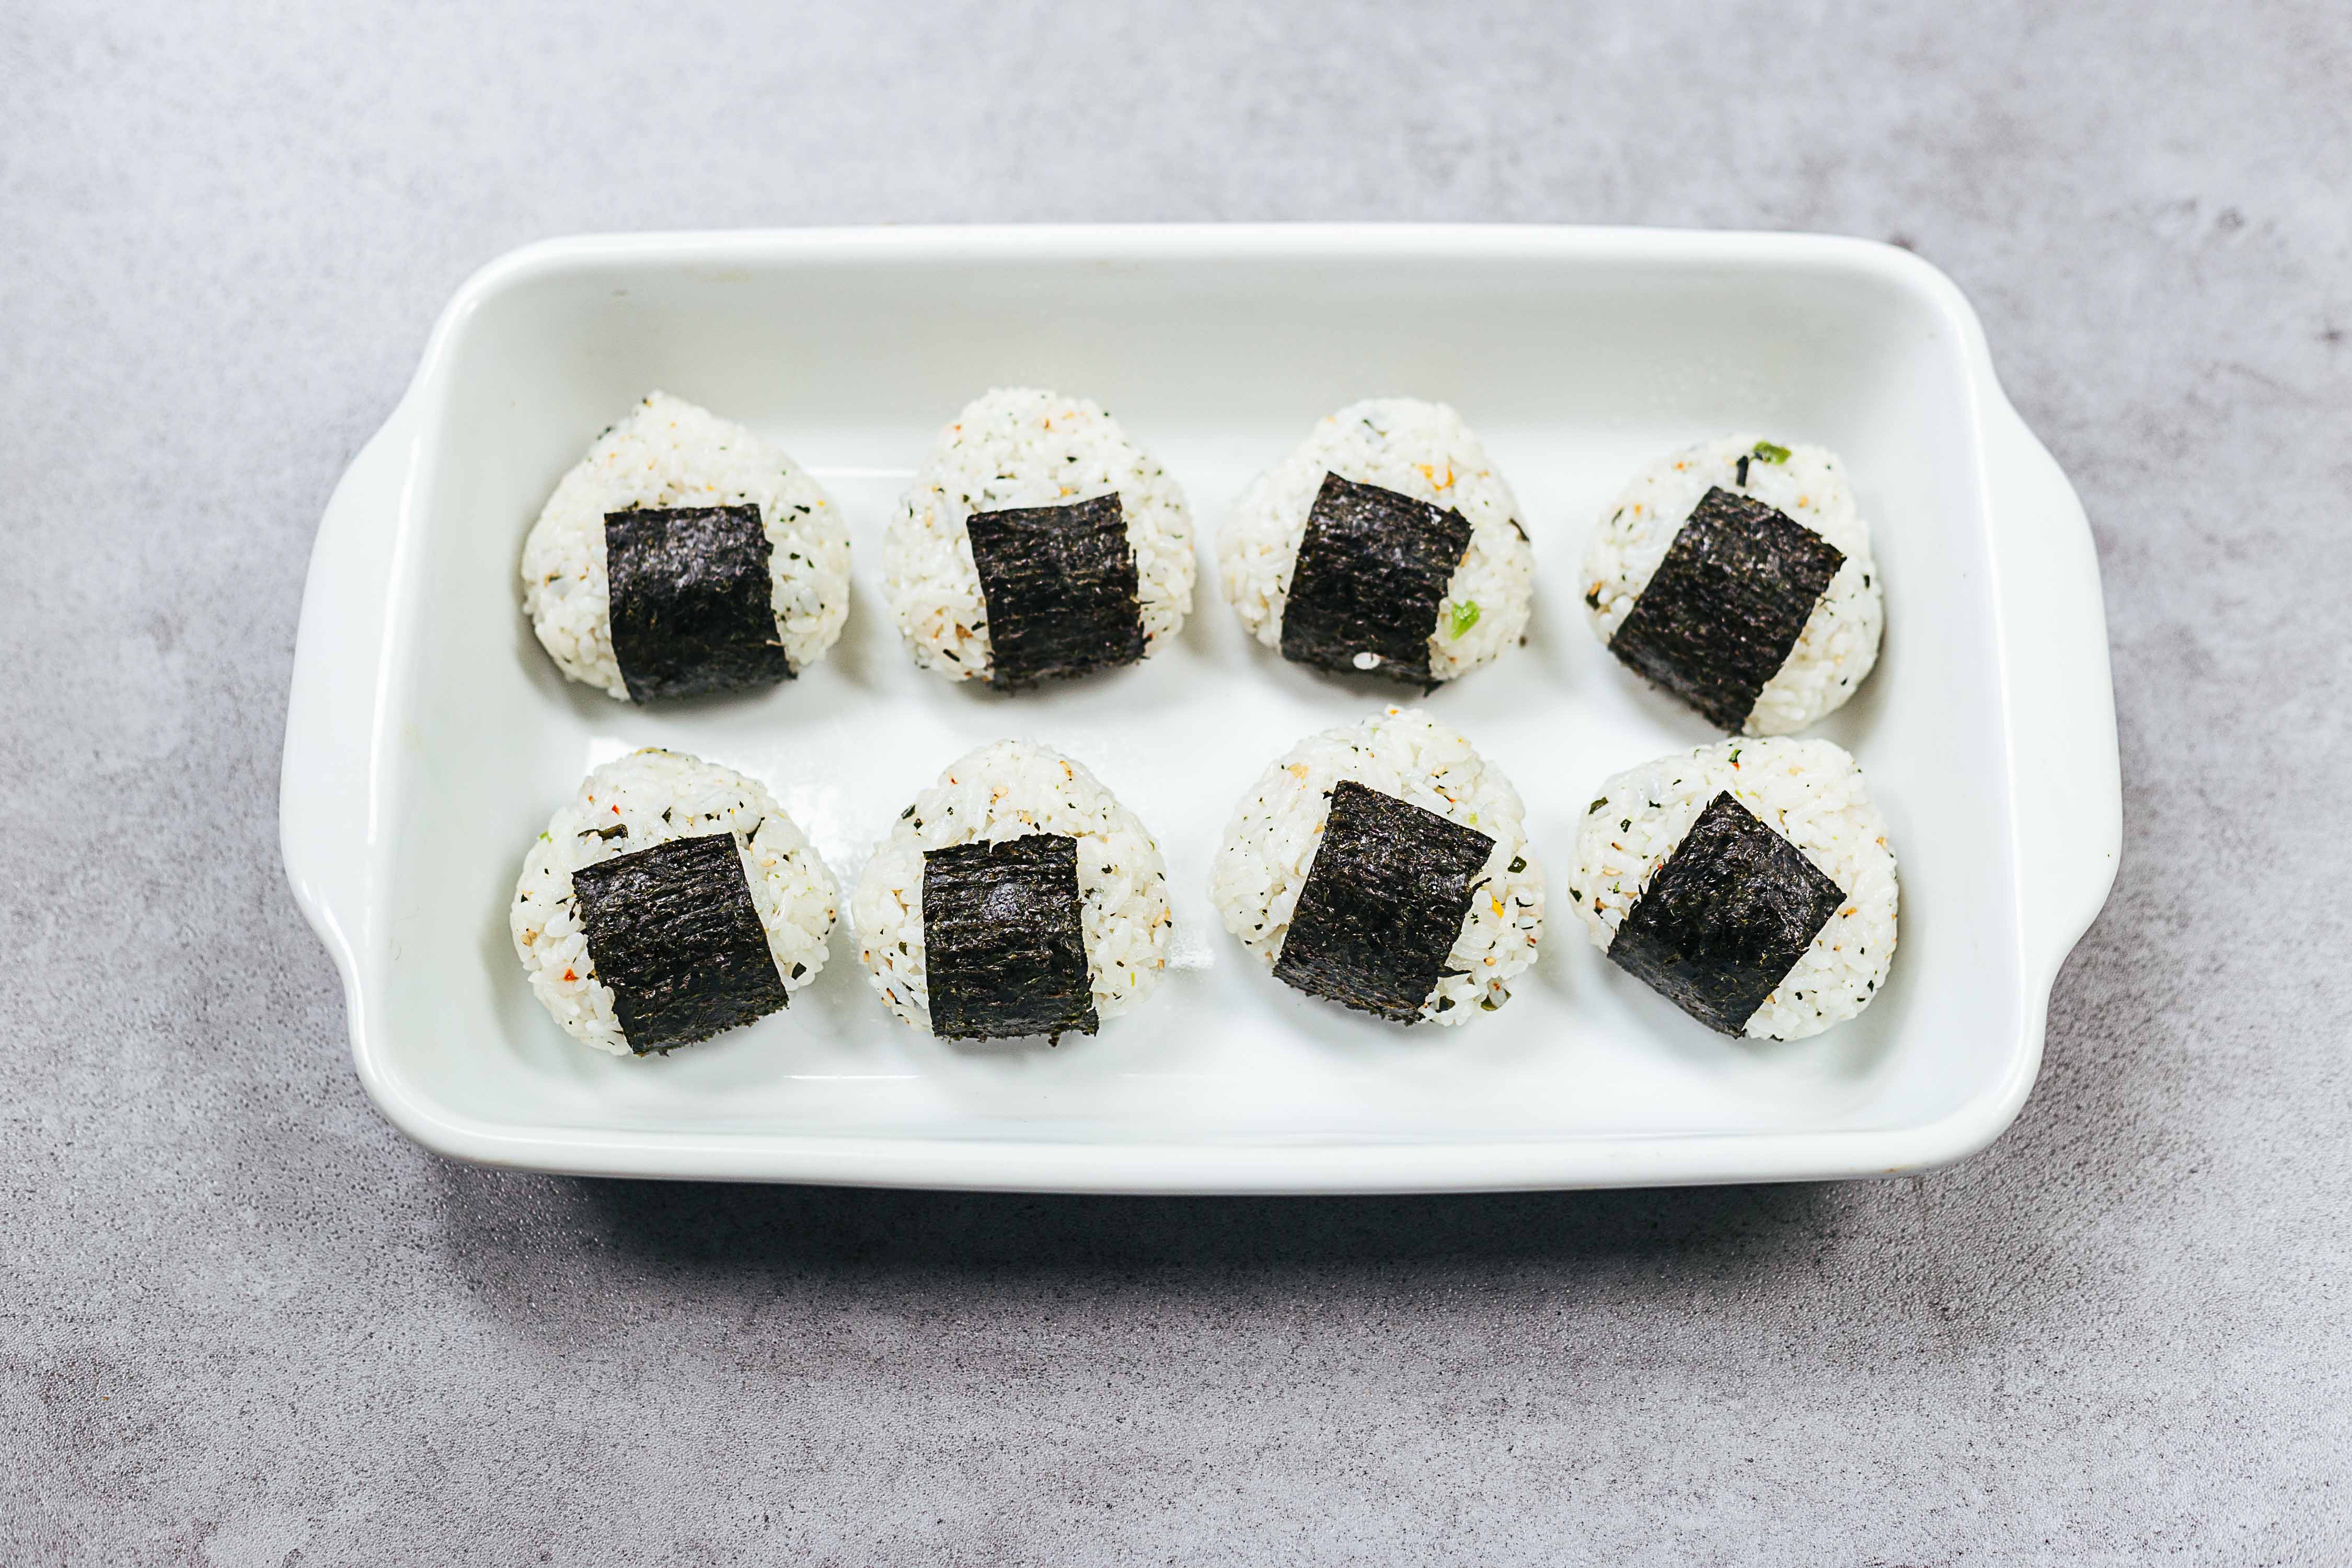
  5. Using your hands, form the rice ball into a triangle. Take off the plastic wrap and wrap a piece of nori around the bottom.
  • The trick to a good onigiri to use rice that is freshly cooked and slightly warm. I felt very Japanese waking up at 7 am to make these for lunch. They will keep for a while in a sealed box in the fridge.
  • The original recipe called for cucumber but I found the green onions to be a nice change.
  • I made these again and mixed in a few spoonfuls of furikake. They were delicious and disappeared very fast at the potluck I brought them to. Enjoy!

Smashed Roasted Potatoes Recipe

Papa Hsin • Brunch • The mighty small potato

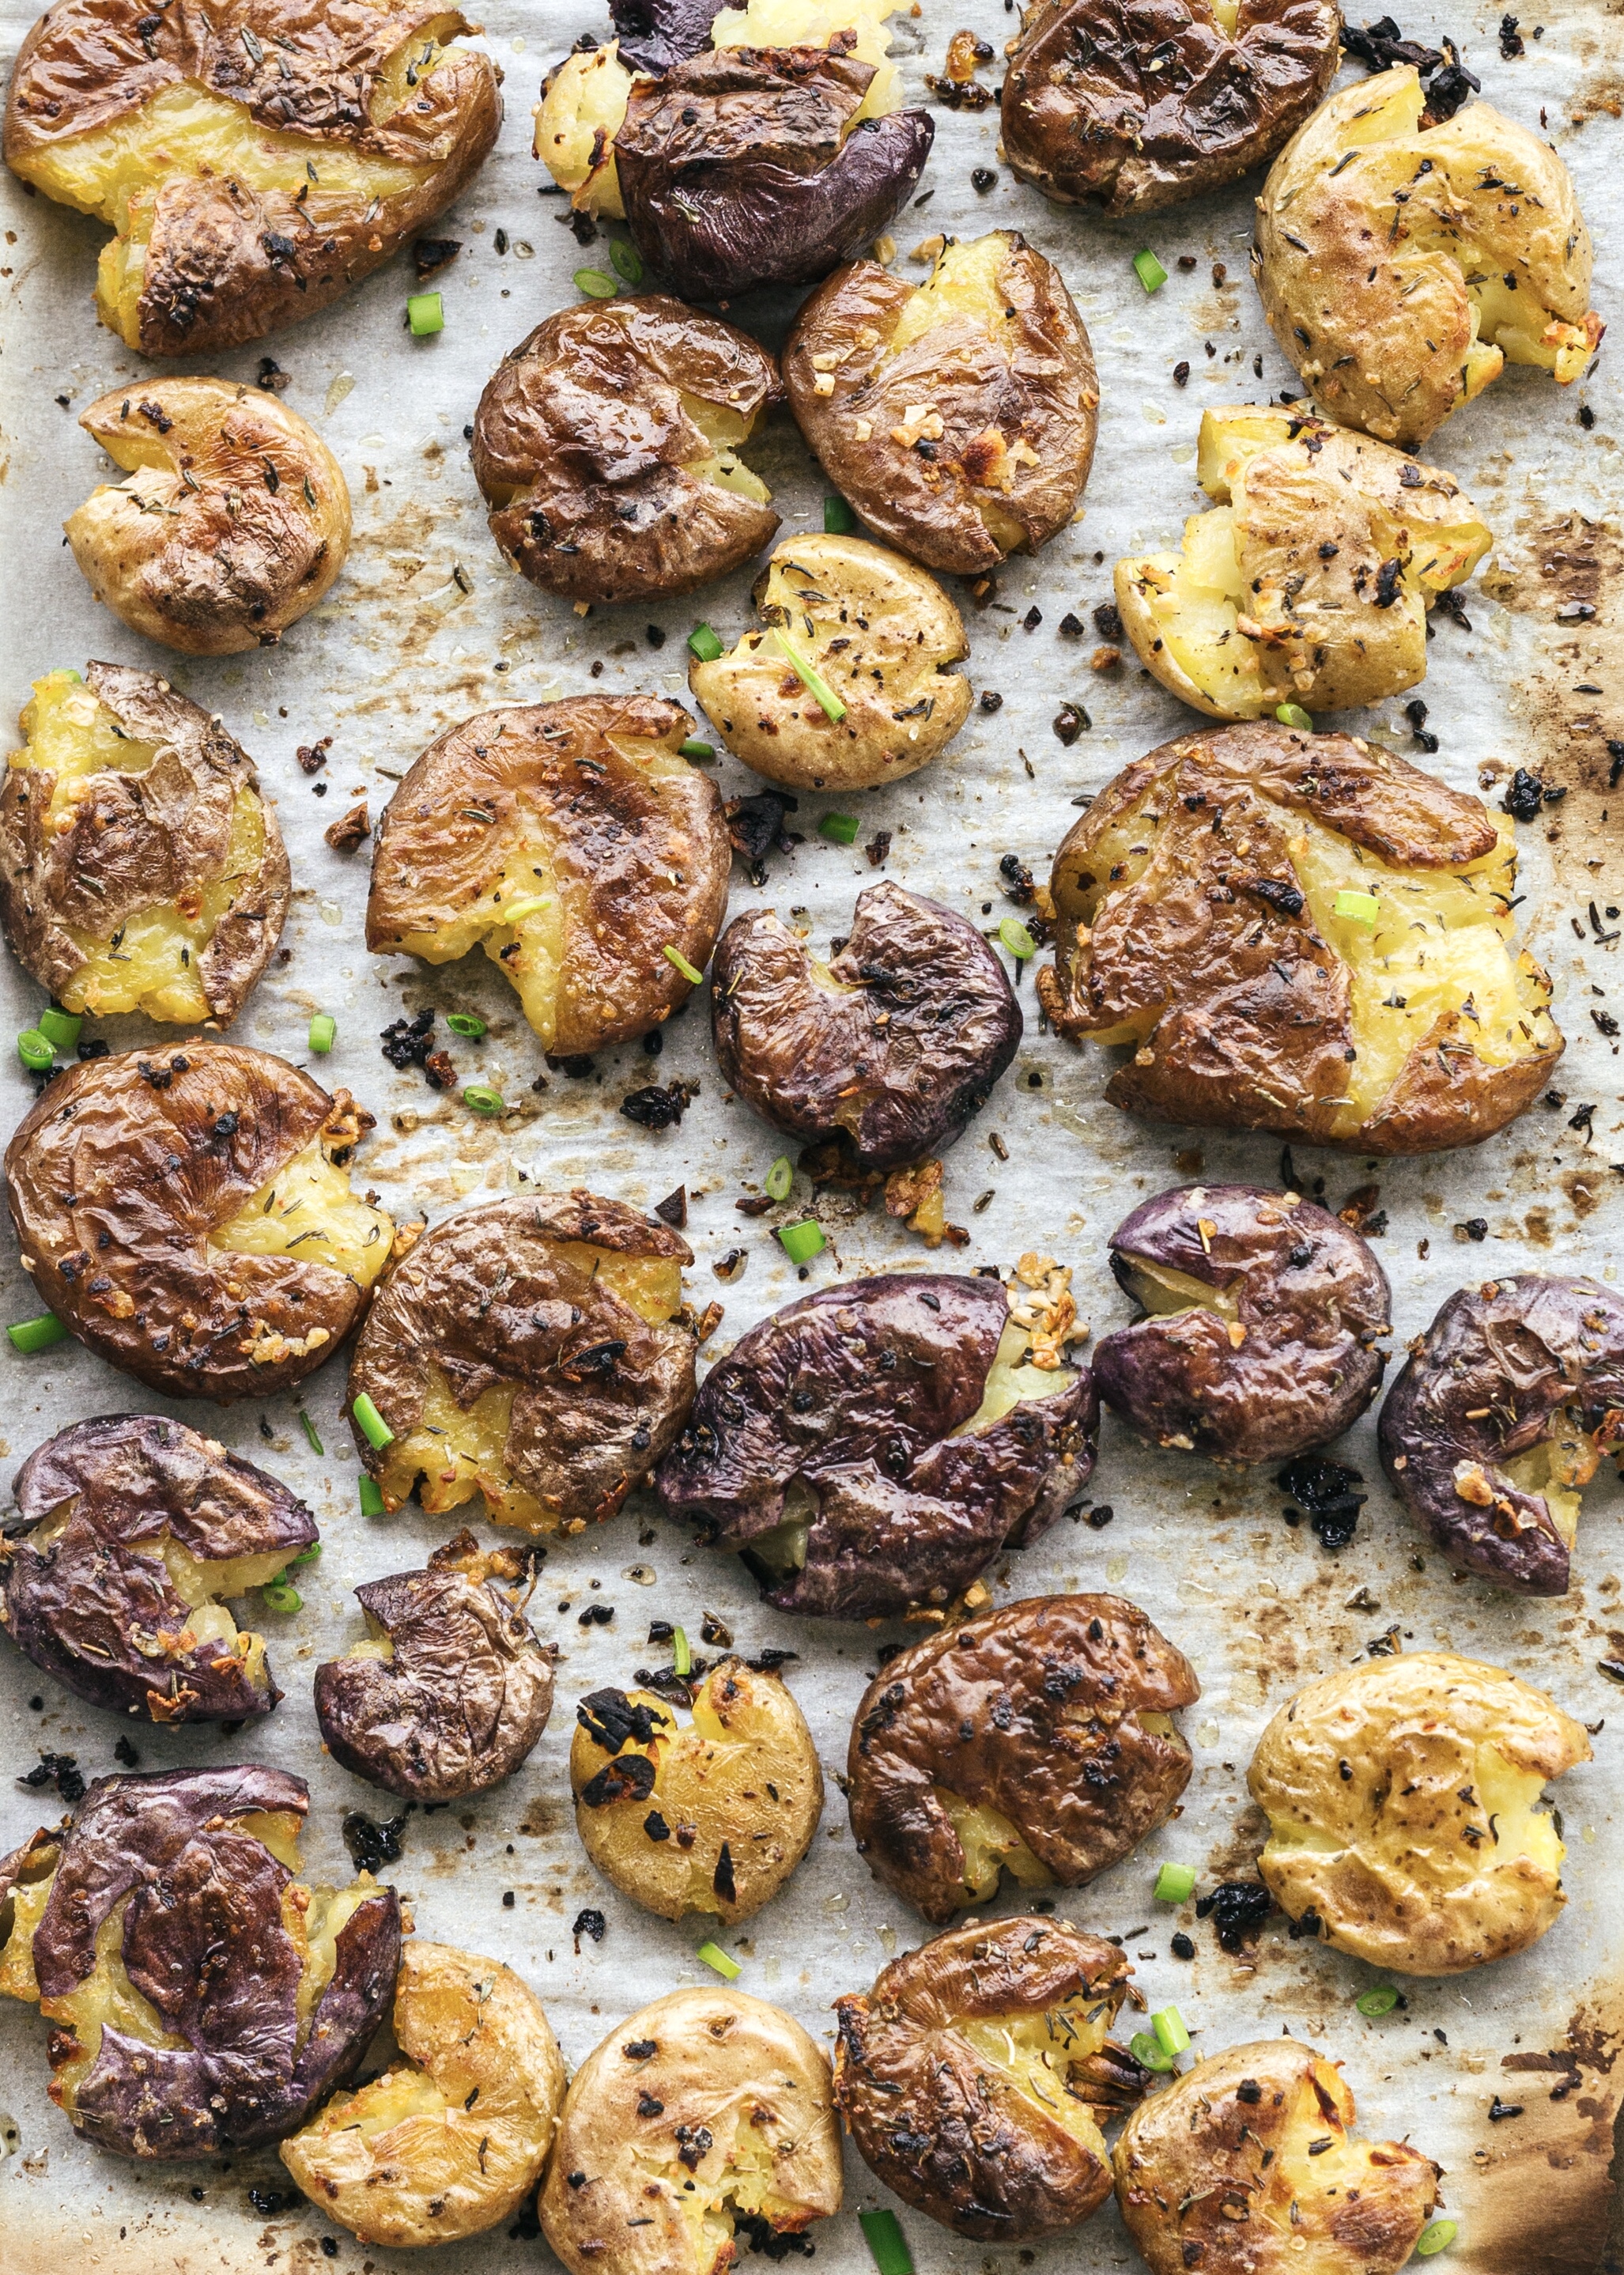
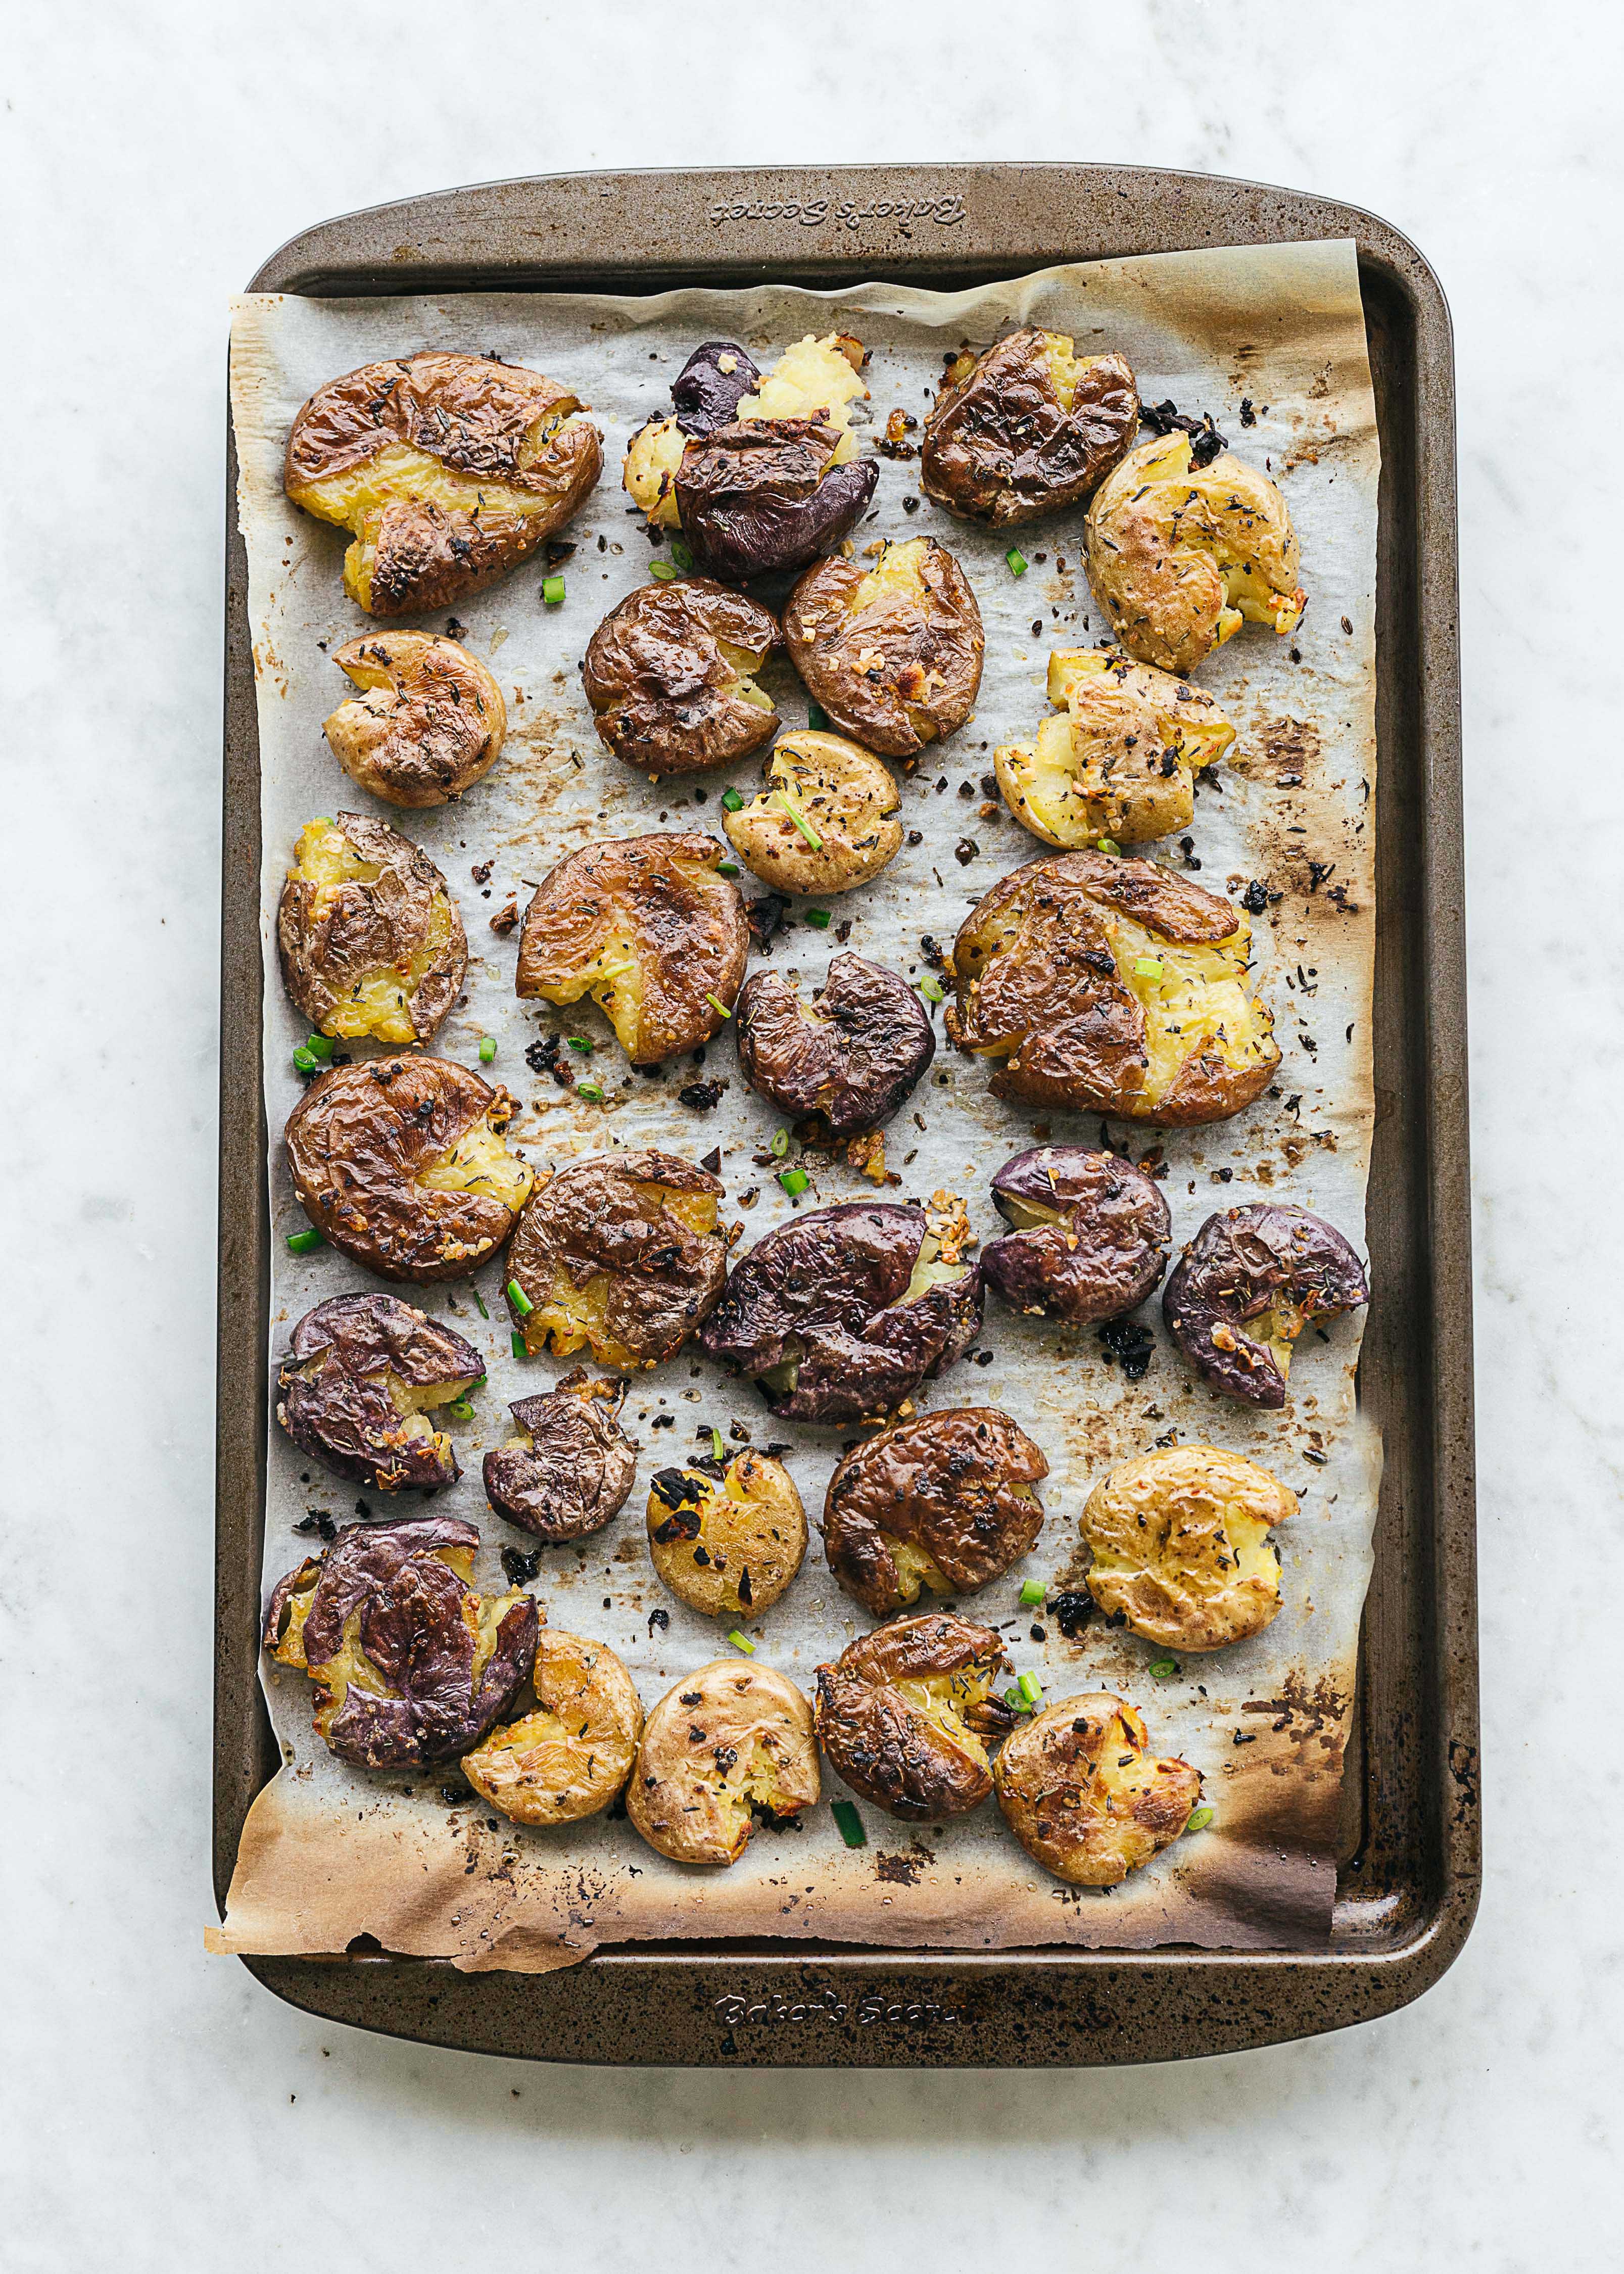
Every day is brunch day when you have smashed roasted potatoes. I had these for the first time at a friends house last month and could not forget the taste of them. Crispy, soaked in flavour, the perfect size to consume in one single bite. I don’t think I can ever go back to normal roasted potatoes. I skimmed over a recipe online and made these for a belated father’s day brunch. They were everyone’s favourites and are now requested on the menu for when my aunties visit in the fall.

Growing up, Papa Hsin worked in foreign affairs and was the person responsible for cultivating my exotic palette (I was the child that hated Chinese food). Papa loves hosting and it was not uncommon for me to come home to a house full of strangers cooking and eating. Once, I came home to an Indian chef cooking curry in the kitchen with an entire butchered lamb he had brought over in a sack. The kitchen smelled like curry for days and I remember eating curry till I was nauseous.

Some of my best childhood memories with Papa Hsin were the fruit markets we would visit on the weekend. It would be the two of us — on one scooter, trying to fit as many fruit boxes—papayas, pineapples, and mangos we could carry home before eating our weight in fruit. Now that Papa Hsin is getting old, there are times where there seems to be an ocean of cultural and generational differences between us. But there is always one thing I can count on connecting over — food.

I served these smashed potatoes with roasted vegetables, fried eggs, sausages and made them again the following week. They are really good for any meal or thrown together for a light snack. The trick is to roast them till they are crispy, on the edge of burning and eat them while they are hot.

Smashed Roasted Potatoes

Ingredients

Bag of small potatoes
Olive oil
Few cloves of fresh chopped garlic
Salt + pepper
Thyme, rosemary, or herbs you have on hand

Instructions

1. Preheat oven to 425 Fahrenheit. Wash potatoes and put in a microwaveable bowl. Fill with water until potatoes are half submerged. Put saran wrap over the bowl and poke a few holes in it. Microwave for 5–6 minutes or until potatoes are soft and easily pierced with a fork. Some potatoes may explode. It is to be expected. Drain potatoes and let cool.

2. Spread potatoes evenly on a baking sheet. Mash potatoes flat with your hands or with a spatula. Drizzle with olive oil, salt and pepper. Season with herbs. Toss or mix with your fingers to coat. Be careful not to overcrowd the pan.

3. Roast potatoes until brown and crispy. 25–30 minutes. Flip potatoes after 15 mins. Try not to eat too many of them. Garnish with fresh herbs and serve immediately.

Me + Papa Hsin with happy brunch faces.

How to Make Dried Pineapple Flowers

My grandmother • Her pineapple farm • Memories of Taiwan

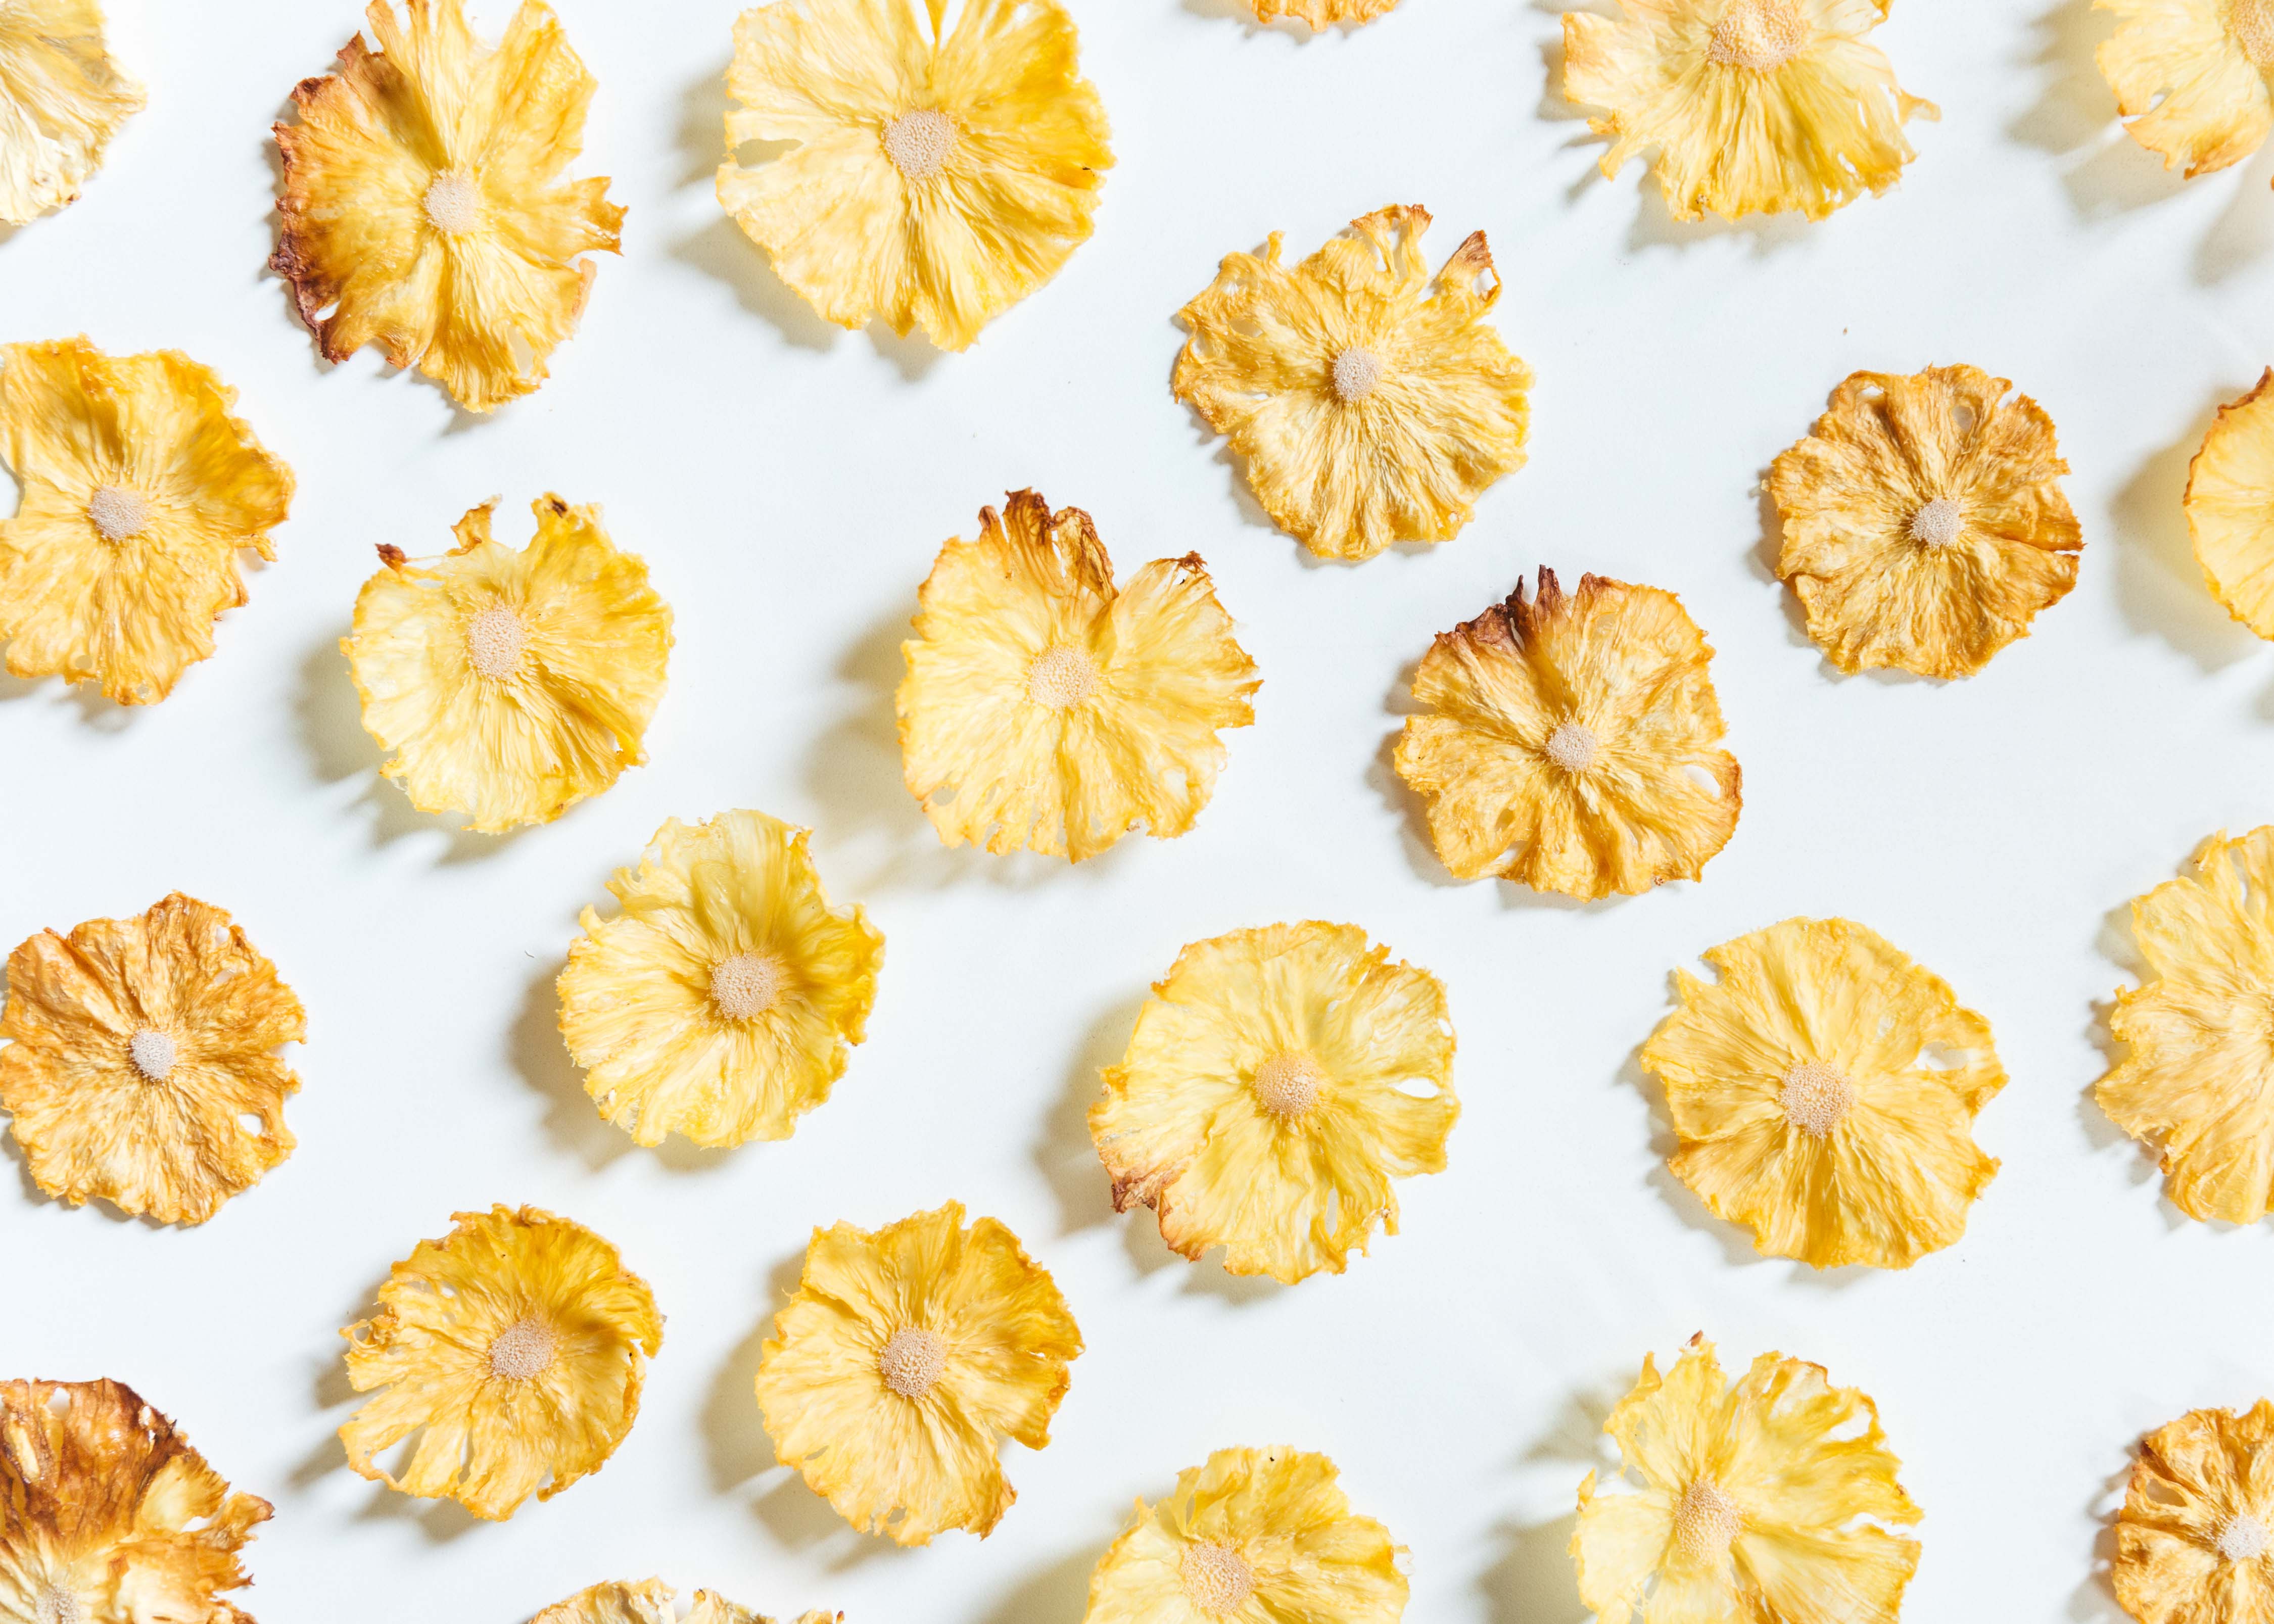
Dried Pineapple Flowers. A recipe and a story about a favourite person I wanted to write about for a very long time— my grandma — a tea and pineapple farmer in Nantou, Taiwan. The person who instilled in me a love for this marvellous fruit. Golden, ripened under the sun, syrupy sweet they hurt your teeth and so fragrant that drivers put them in their cabs as a natural perfume.

So much of my love for food, being in the kitchen, making things with my hands come from grandma, who wakes up at five am every day to cook for the masses. Tables filled with marinated pork with eggs, her famous fried fish with tomato sauce, sesame oil chicken for winter months, and the best-fried tofu I could eat platefuls of with congee and soy sauce every morning.

Since grandpa passed a few years ago, grandma renounced meat (a tradition in Buddist culture where they believe will help grandpa’s soul go to heaven). Since then, all activity in grandma’s kitchen has stopped. My remaining family on the farm eats out while grandma eats her vegetarian meals in solitude. My heart kind of breaks over this and for my grandmother — who shows so much love through food. I also feel the urge to share more of her recipes and write about my childhood memories and places that will never be the same.

I made two batches of these pineapple flowers and photographed them over the course of a few days. It was difficult to find a recipe that was not too western but one that I could make. I also realized that no recipe or photograph can convey the importance of pineapples in my life, or compare to any of the recipes grandma makes. But one must try.

There are so many recipes I want to collect from grandma — her delicious fried long green beans, squash flowers from her yard and boiled noodles with tea oil (茶油麵線). I wish I could teleport to her farm and take more photos of grandma — slicing pineapples with graceful skills acquired from a lifetime.

So here it is, a simple but tedious recipe dedicated to my pineapple farmer grandma, whose love for her grandchildren travels miles and continents. To the fruit my mother hated as a child because she had to eat way too many of them. And to the fruit I always leave grandma’s house with, wrapped snugly in newspapers to bring back to Taipei or wherever I am headed.

Dried Pineapple Flowers

You will need:

One ripe pineapple
A sharp knife or mandolin
Baking trays and sheets

Instructions:

1. Cut both ends of the pineapple. Stand pineapple on the bottom and cut deliberately around the fruit. Do not be afraid to cut into the flesh and get rid of the eyes (鳳梨眼 in Mandarin). The pineapple will taste less tart.

2. Cut pineapple into even slices as thin as possible (thin enough that you can see the blade through the slice). I used a knife but a mandolin should work too. Dry on paper towels and lay flat without overlapping on a baking sheet.

3. Bake at 220F for an hour. After 30 minutes, flip pineapples flowers. Bake and repeat until pineapples are dried, golden with a texture that represents dried mangos.

4. Place pineapple flowers in muffin tins to attain a curvy shape. Store in an airtight container with lotsa room as the flowers will stick to each other. I kept mine stored separately in silicon muffin cups.

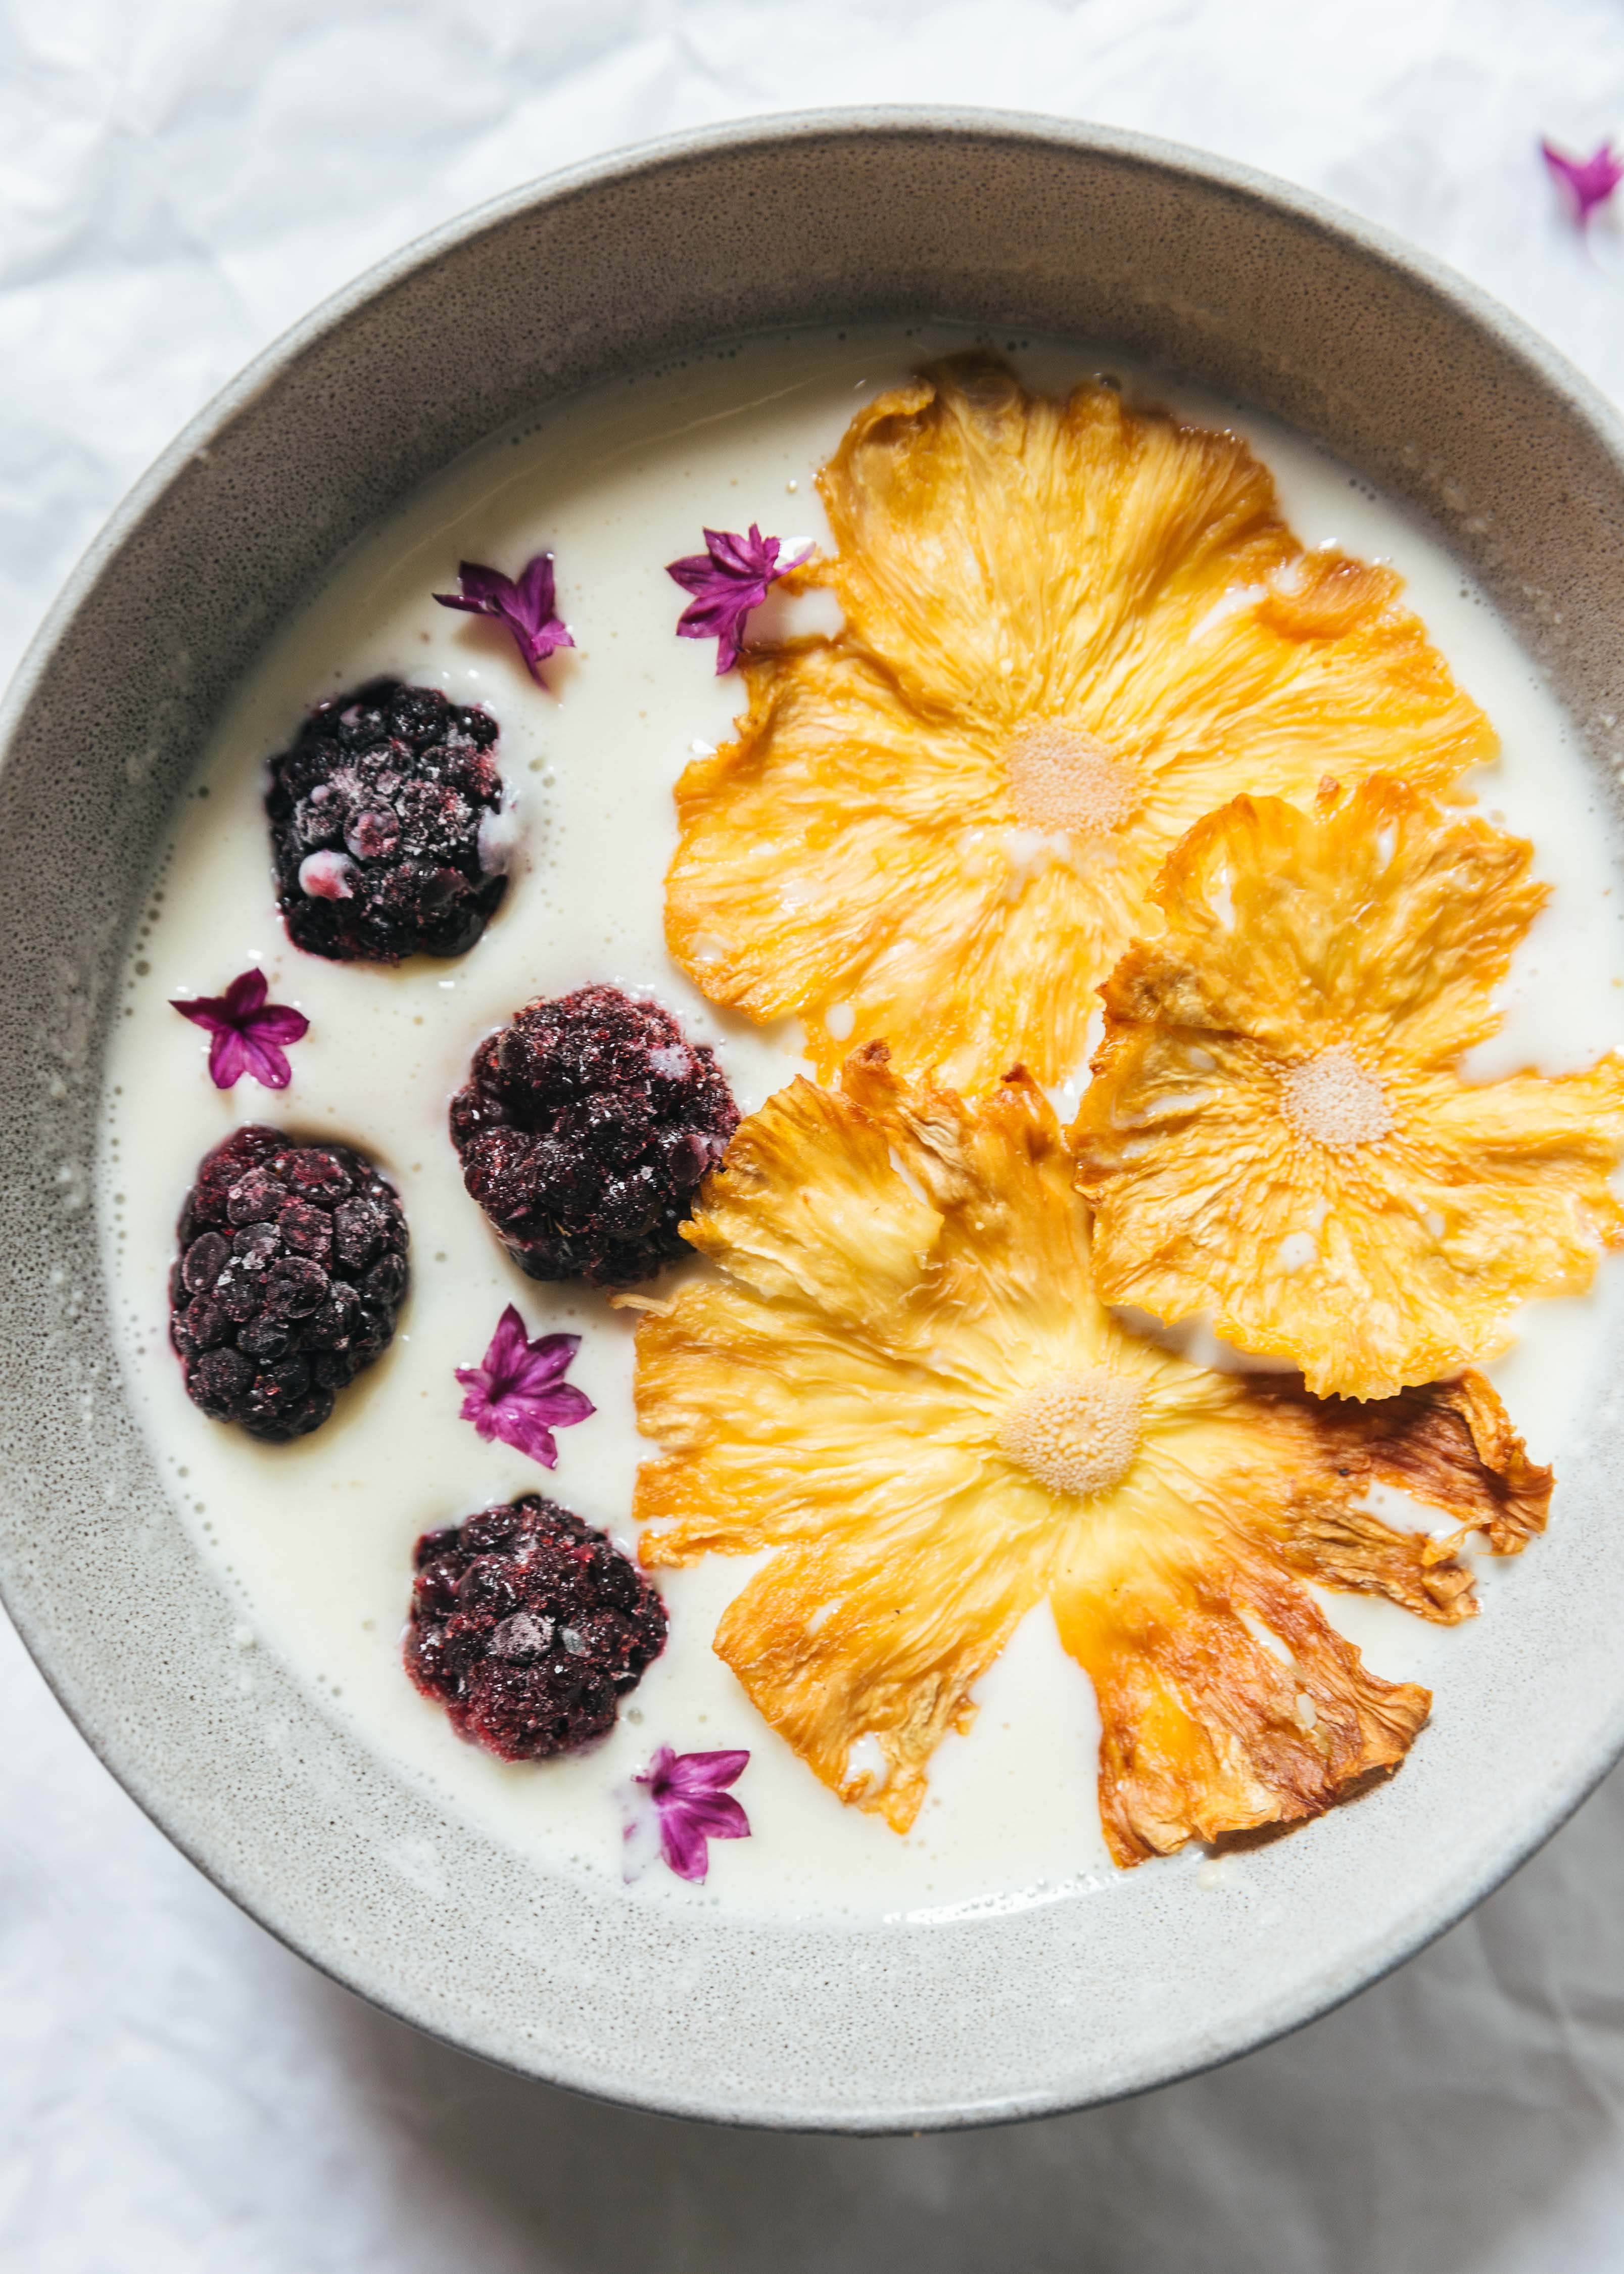
* These flowers are great as a topping for smoothies, yogurt, cakes or eat as a snack. They also make very impressive gifts to your co-workers or friends.

* Check on your pineapple flowers when they are almost done as they go from dried to burnt in a very short time. If your pineapple flowers are still wet to the touch, turn the heat off and leave them in the oven overnight!

A photo of me and grandma. Photographed on her farm in 2017.

Chive Blossom Vinegar Recipe

I have an appetite for chives. Chives in boiled dumplings, chives in pot stickers; chives chopped, stir-fried and hidden into chive pockets; chives wrapped into steamed buns and strung onto sticks with enoki or chicken skewers from vendors on the streets in Asia; chives fried with egg, dried shrimp, thin slivers of pork and rice noodles grandma would make by the mountain-full. I eat chives for the taste just as much as the love of the memories I have of eating them.

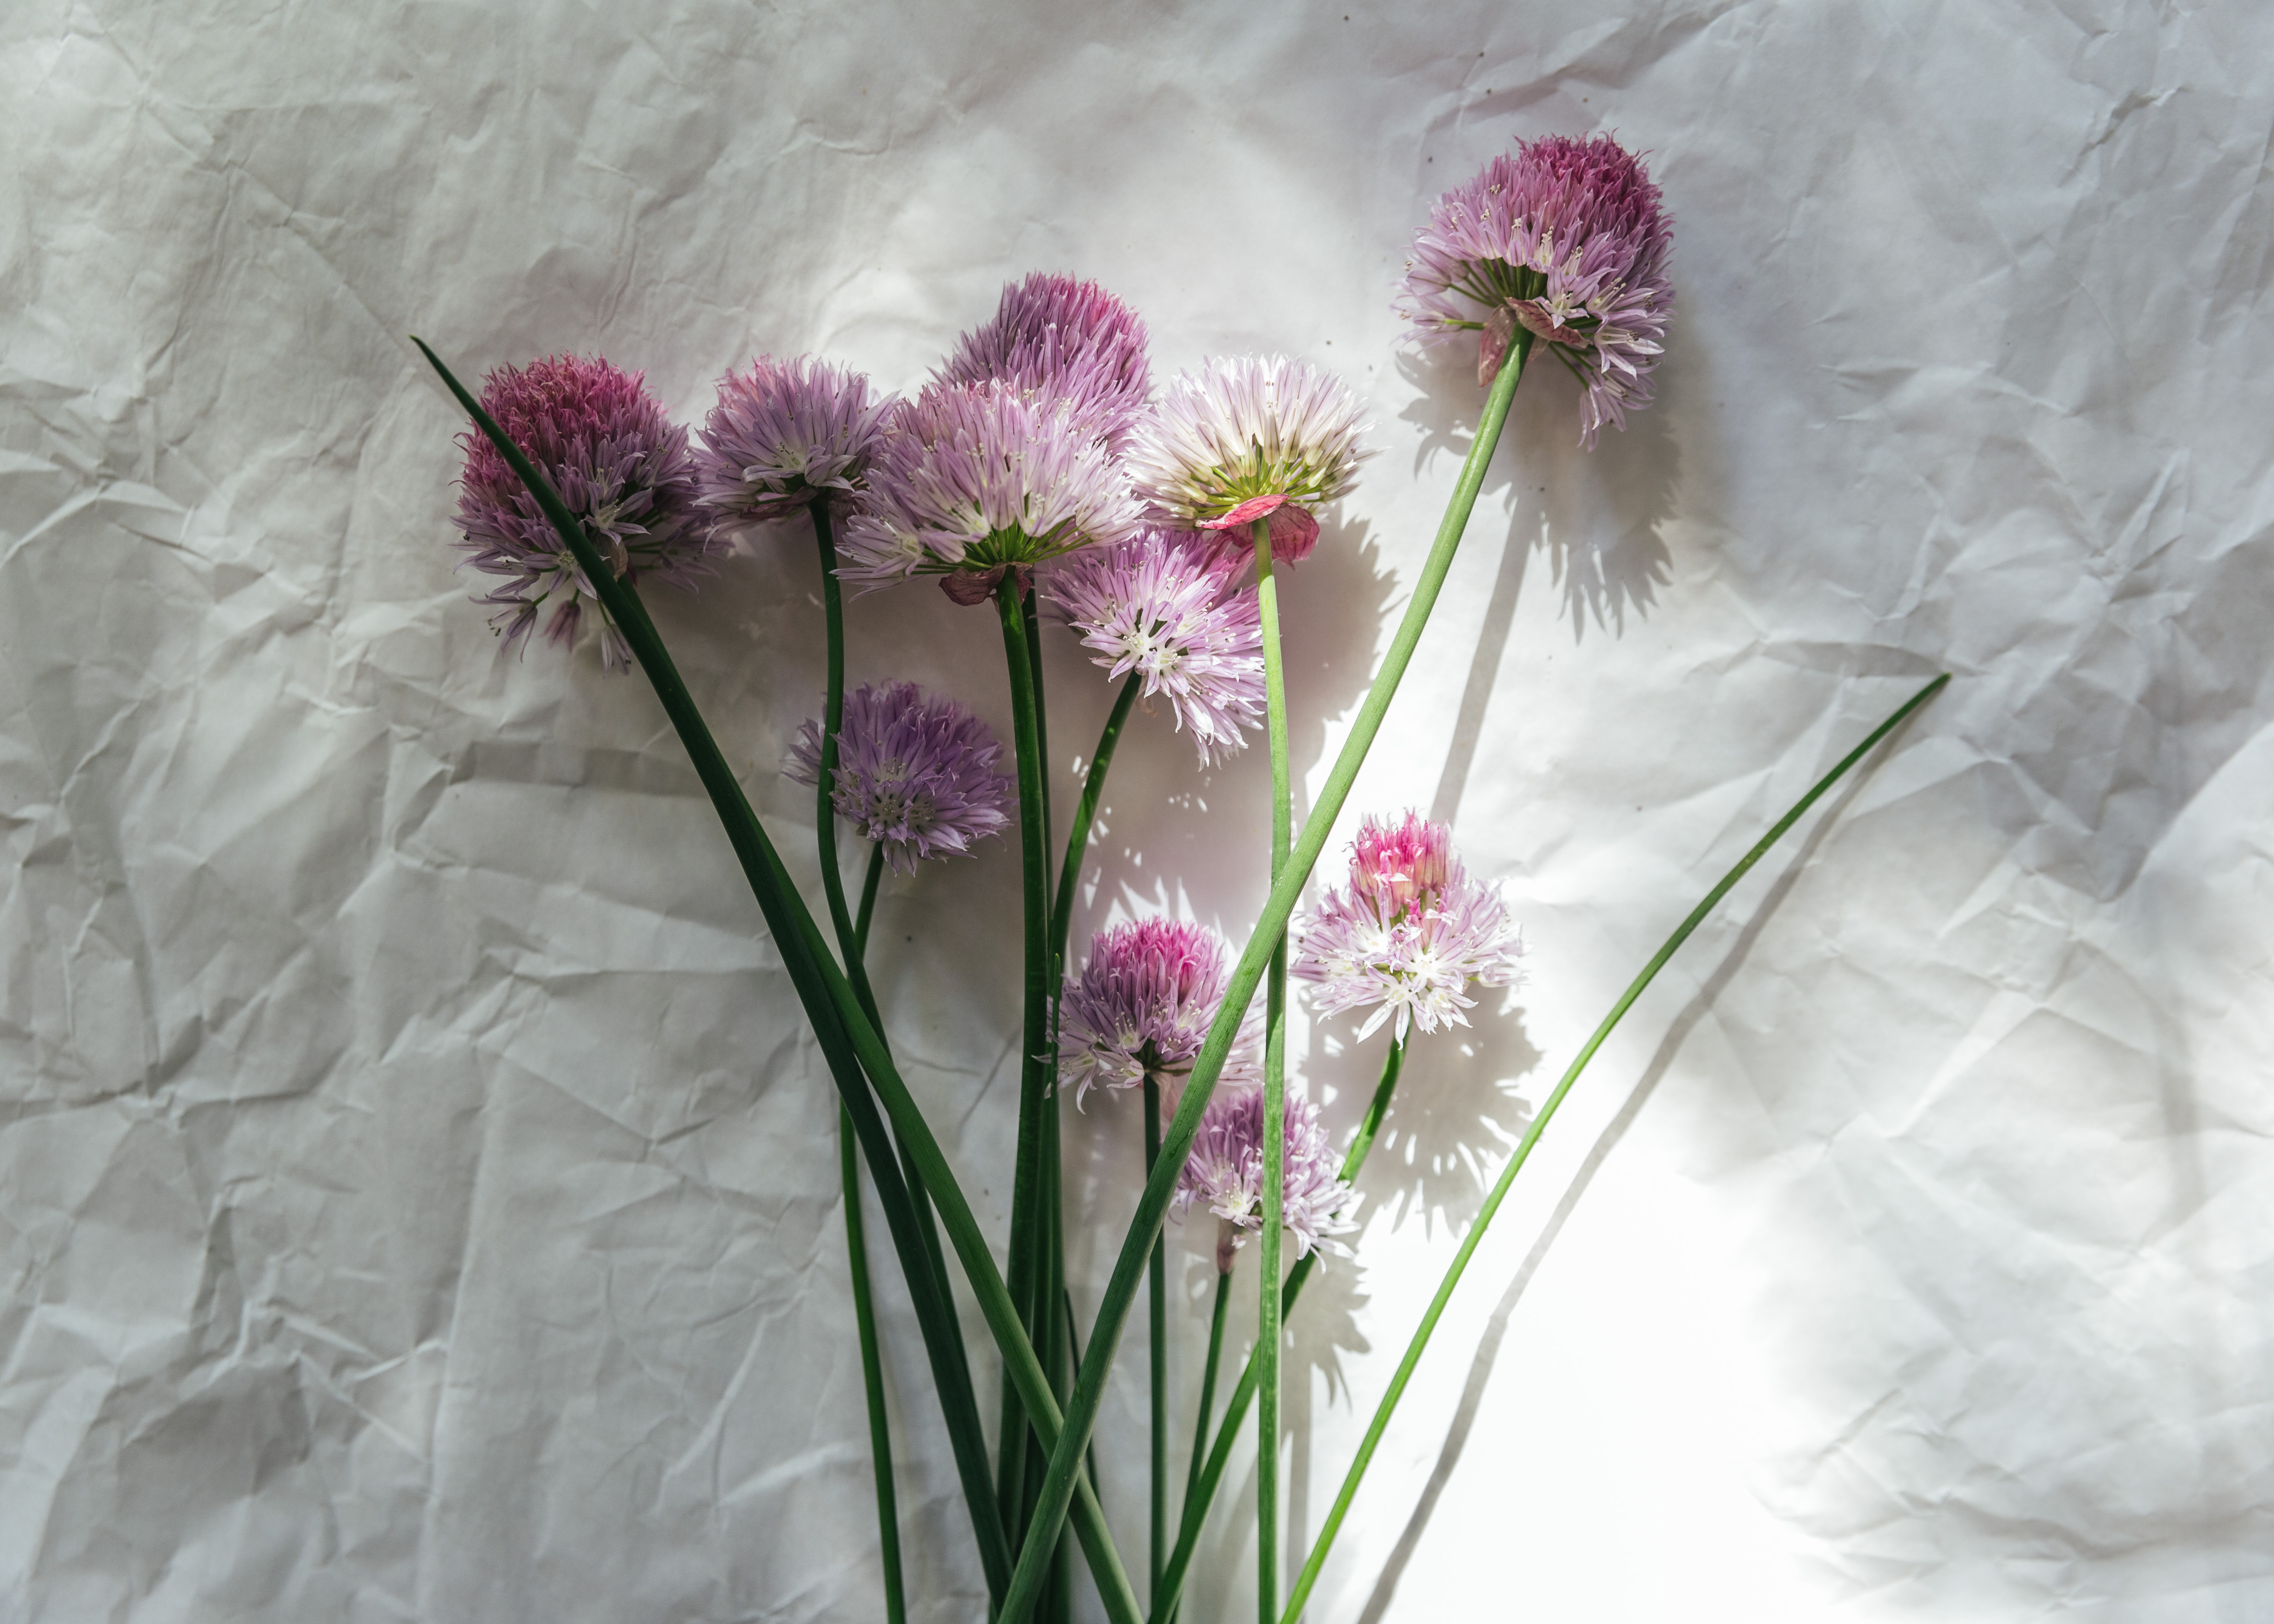
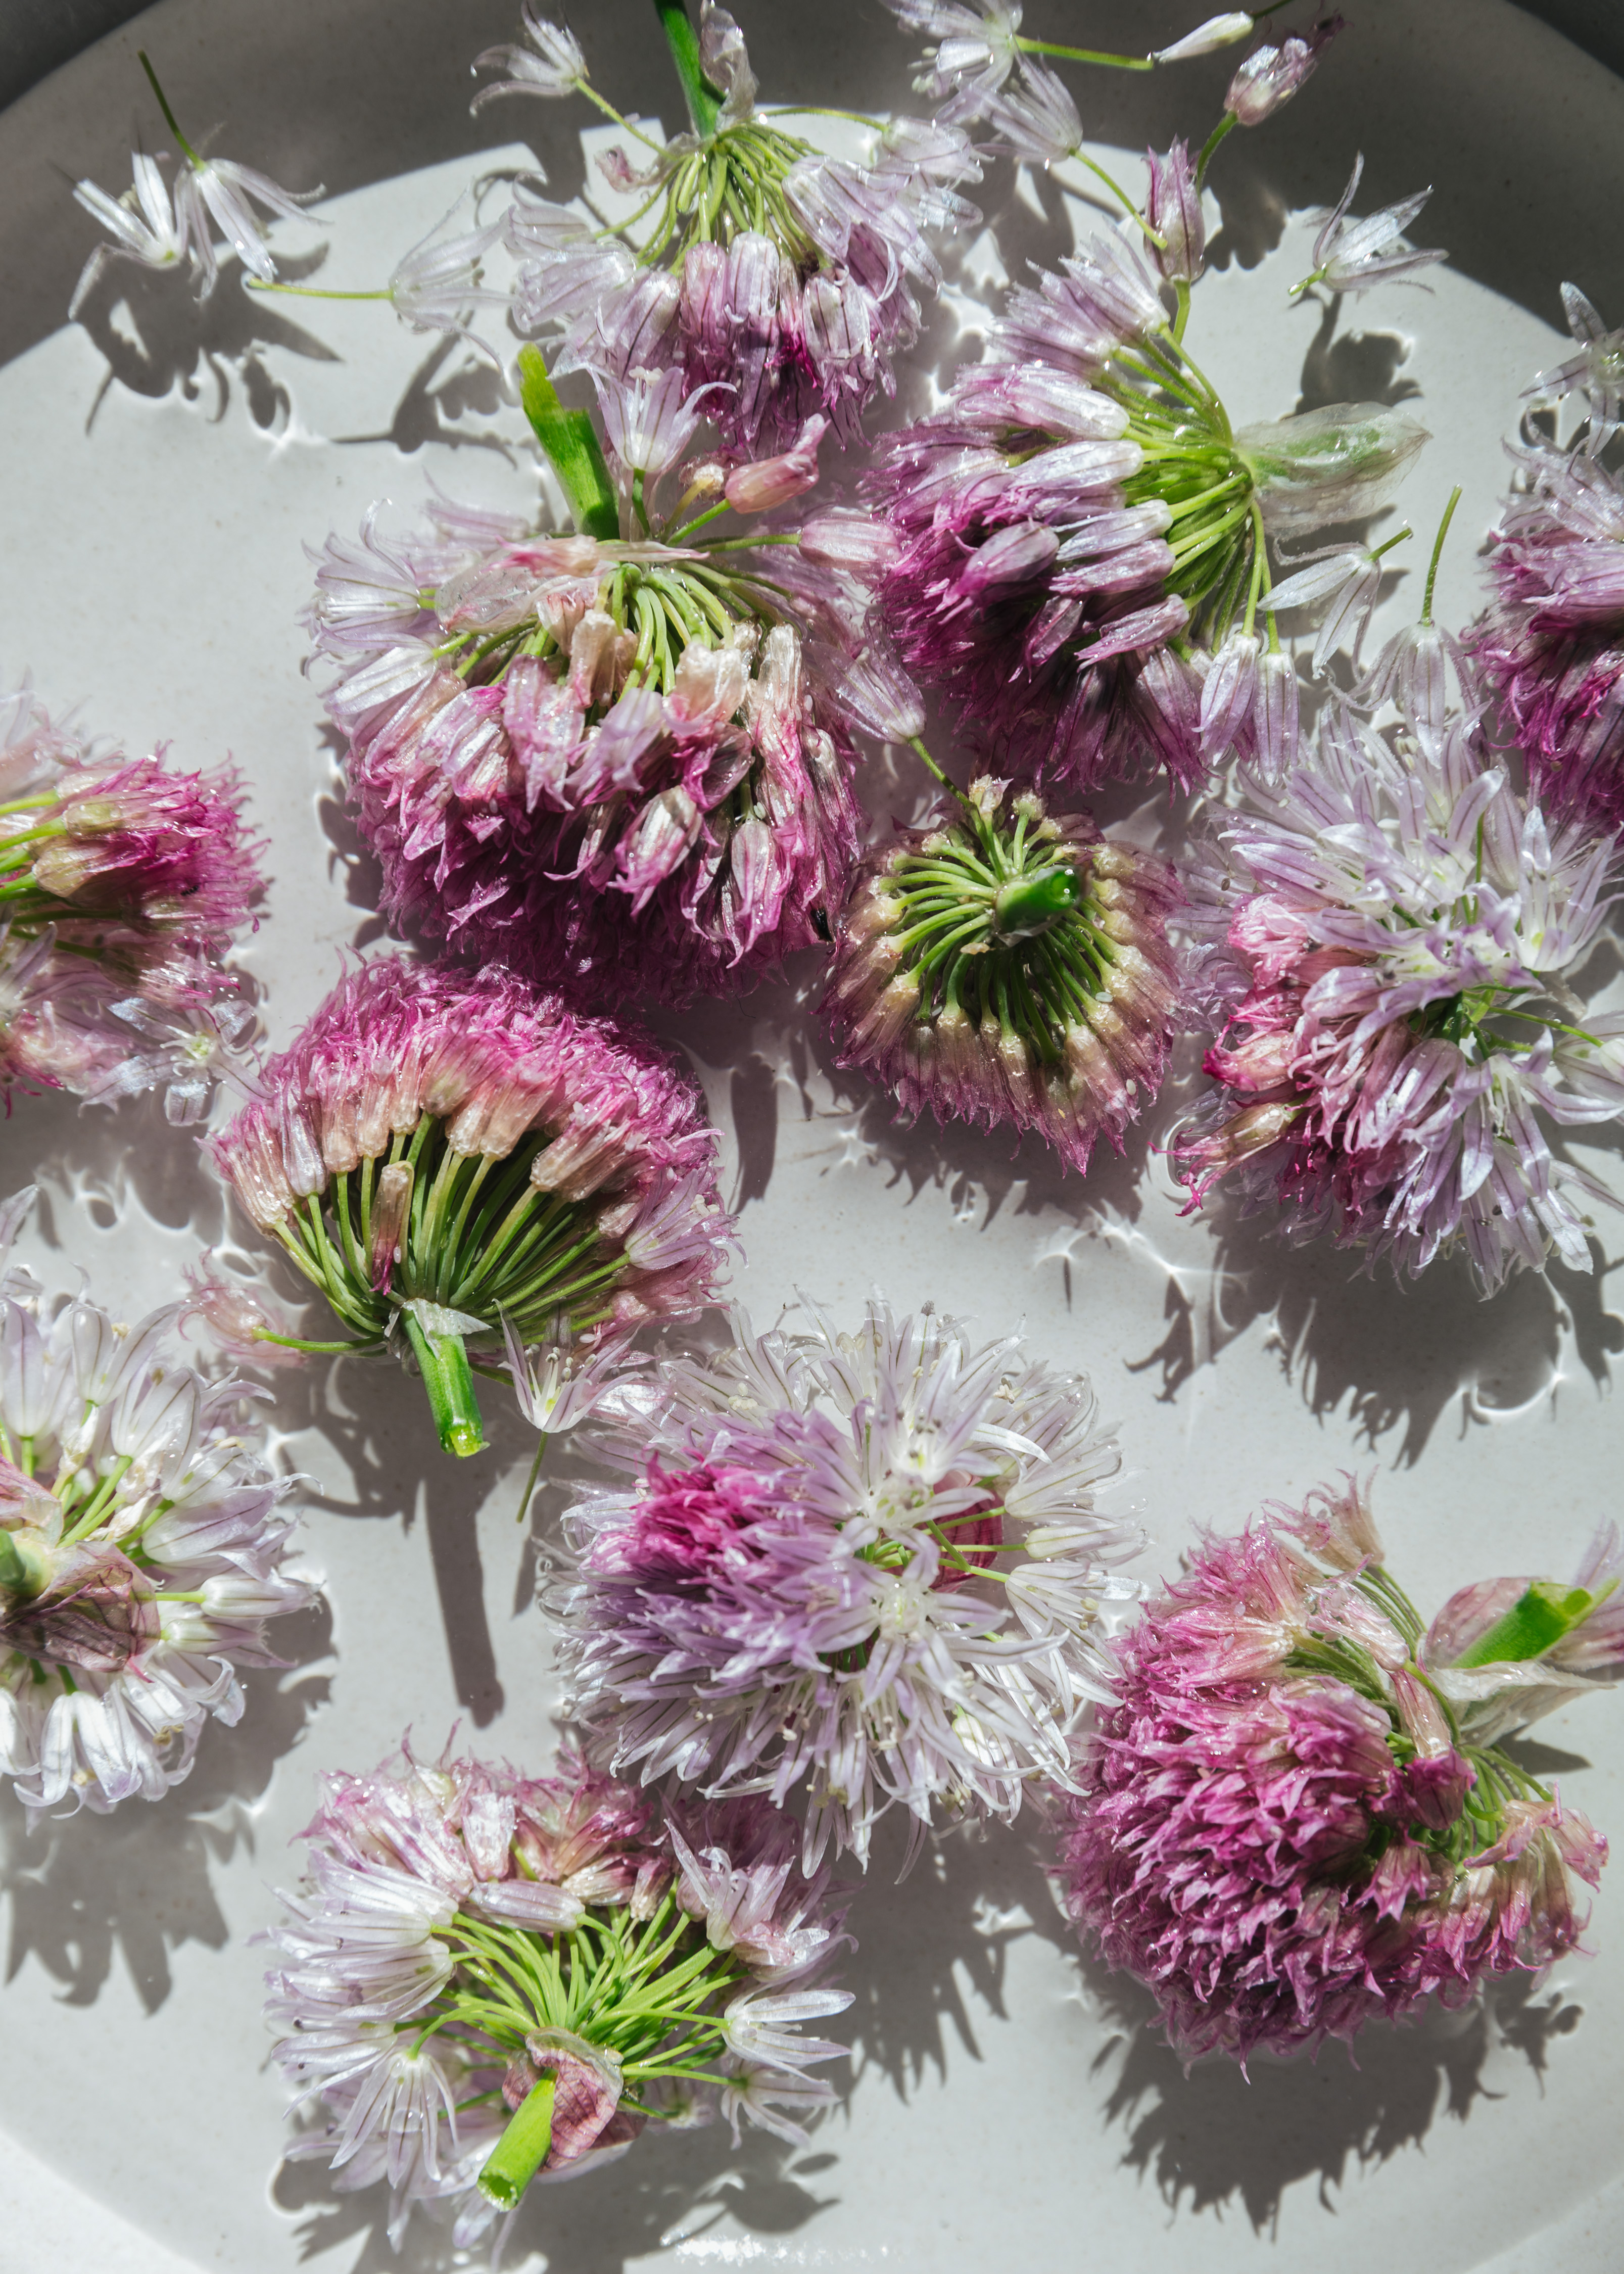
There is something incredibly beautiful about chives blossoms, the tiny bursts of purple on long green stems, the pungent smell and tiny seeds that fall from their pods. I also cherish the fact that I get to harvest a handful of these beauties every year from my dad’s yard — so pretty that I put them in vases for a few days before making a recipe out of them. 

I chuckle to think of the traits I bring from Asian culture into photography —choosing to photograph subjects that are at once tasty, photogenic, accessible and meaningful. It’s almost like someone said, “I created these chive blossoms, make good use of them!” An opportunity one must not pass.

So here is a recipe for chive blossom vinegar. A vinegar that will taste slightly like chives and turn the liquid into a deceivingly shade of rosé. Great for pickling daikon or adding flavour to a salad.

Chive Blossom Vinegar

You will need:

• A handful of chive blossoms (use blooms that bloomed and have yet gone to seed)
• Vinegar (I used rice vinegar for this one)

Instructions:

1. Behead chive blossoms, wash thoroughly with water and pat dry with paper towels.

2. Transfer chive blossoms into a clean jar. Mash slightly with a spoon to release flavour. Top the blossoms with a sprig of chive stem if you like, chopped.

3. Fill to the brim with vinegar.

4. Let sit in a cool dark place for two weeks. Strain the liquid and keep in a sterilized jar for up to 6 months.

* Rice vinegar can be substituted with apple cider vinegar or white wine vinegar.

* For a quick pickle, heat the vinegar until it comes to a simmer (do not boil, it will drain the colour from the blossoms), repeat with steps 3 and 4 above. Vinegar will be ready in 3 days.

More chive blossom vinegar recipes here: 

http://www.hungryghostfoodandtravel.com/blog/chive-blossom-vinegar
https://www.thespruceeats.com/chive-blossom-vinegar-1327760
https://foodinjars.com/recipe/chive-blossom-vinegar/

A Vancouver Salad | with roasted chickpeas, quinoa and blood orange

When I think about food I love to eat off the top of my head, things pop up like: tofu pudding loaded with soft boiled peanuts, taro and grass jelly, grandma’s fried long green beans, freshly shelled sweet peas from markets in the summer, roasted vegetables, ice cream, and bean chips from Costco.

As of July this year, it will be my 6th year anniversary living in Canada since I was here as a child. Come to think of it, my diet in Vancouver usually consists of Japanese, Vietnamese, and middle eastern food. With the occasional burger with friends, and potlucks that feature food from, well, everywhere. I struggle to think of anything in my diet that falls under the category of Canadian food. 

Perhaps the biggest change in my eating choices has been reaching a lot more for organic, green and fresh food. I don’t think I’ve appreciated how accessible produce is in Vancouver and how fresh they are. A vivid memory I have from my first few months in Canada was emptying my uncle’s fridge of all their blueberries and greek yogurt. A habit I have kept till this day. For my dad, it was consuming almost unhealthy amounts of salmon, kale and quinoa. All of which was very rare to come by in Asia.

Where I grew up in Taipei, great salads almost nonexistent. Most salads you order at restaurants consist of sad pieces of wilted lettuce, canned corn, slivers of carrots, and tiny pieces of random vegetables. Most of the time drenched in sweetened yogurt and once to my horror — topped with fruit loops.

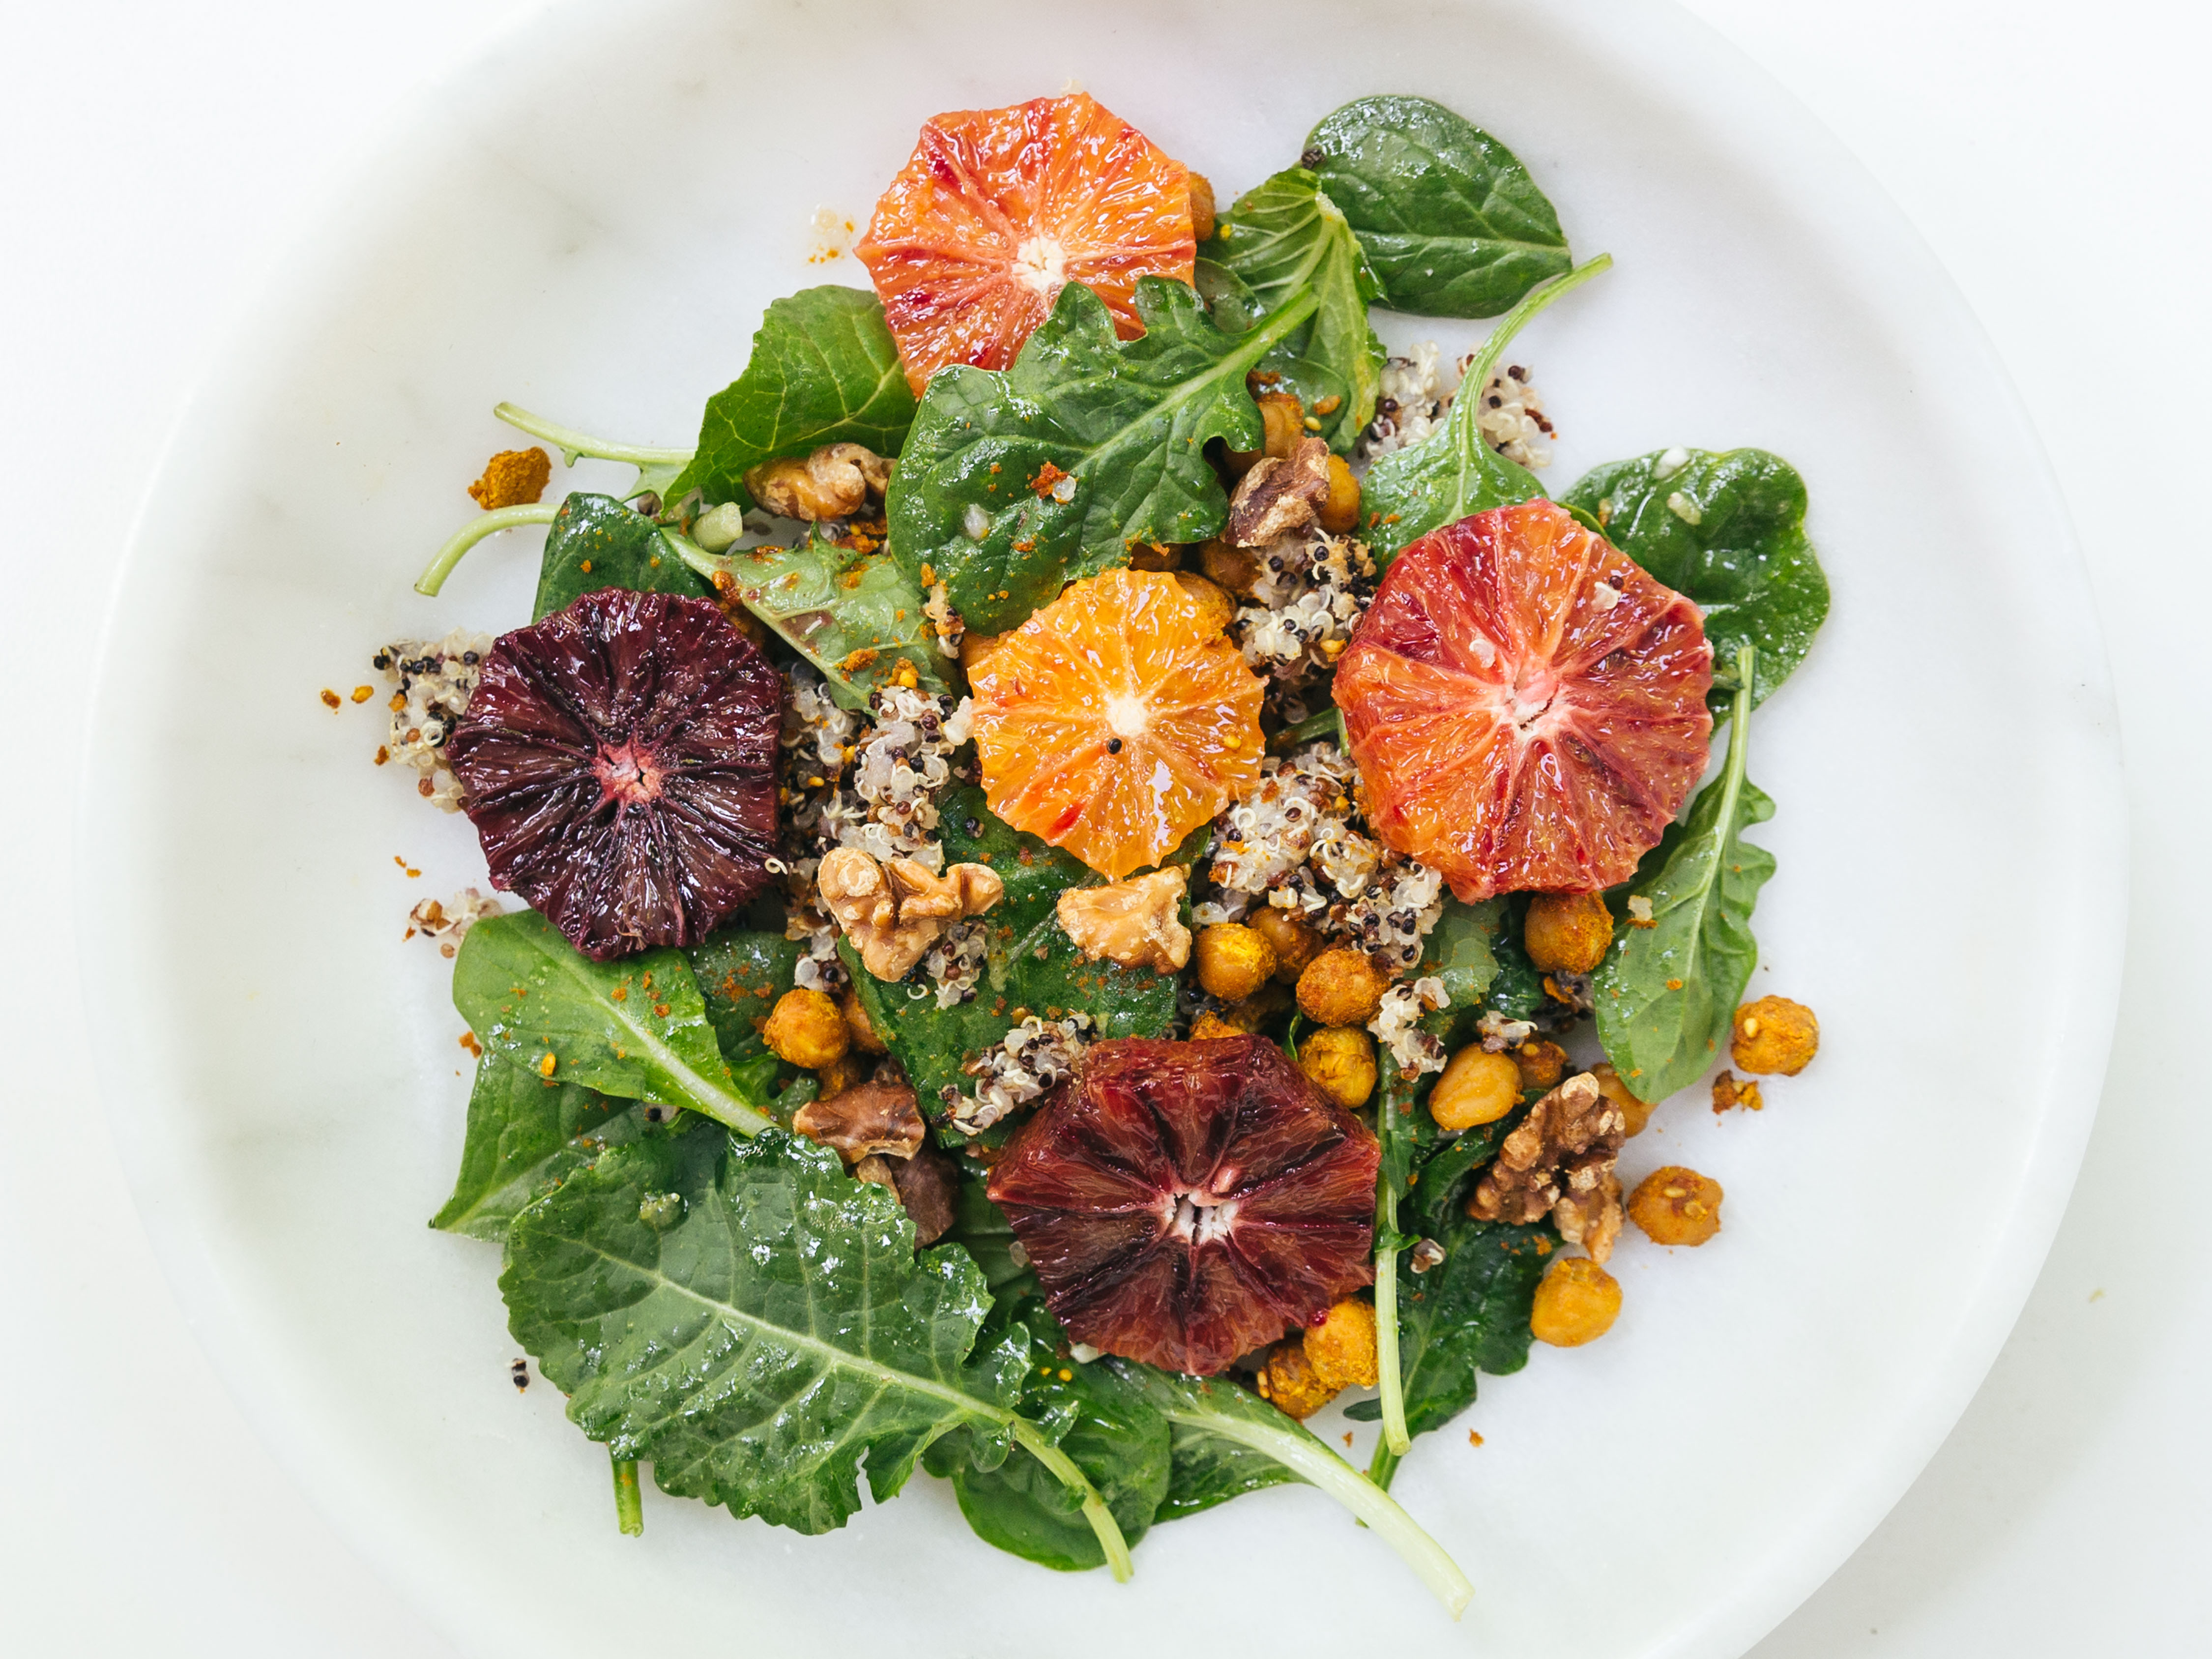
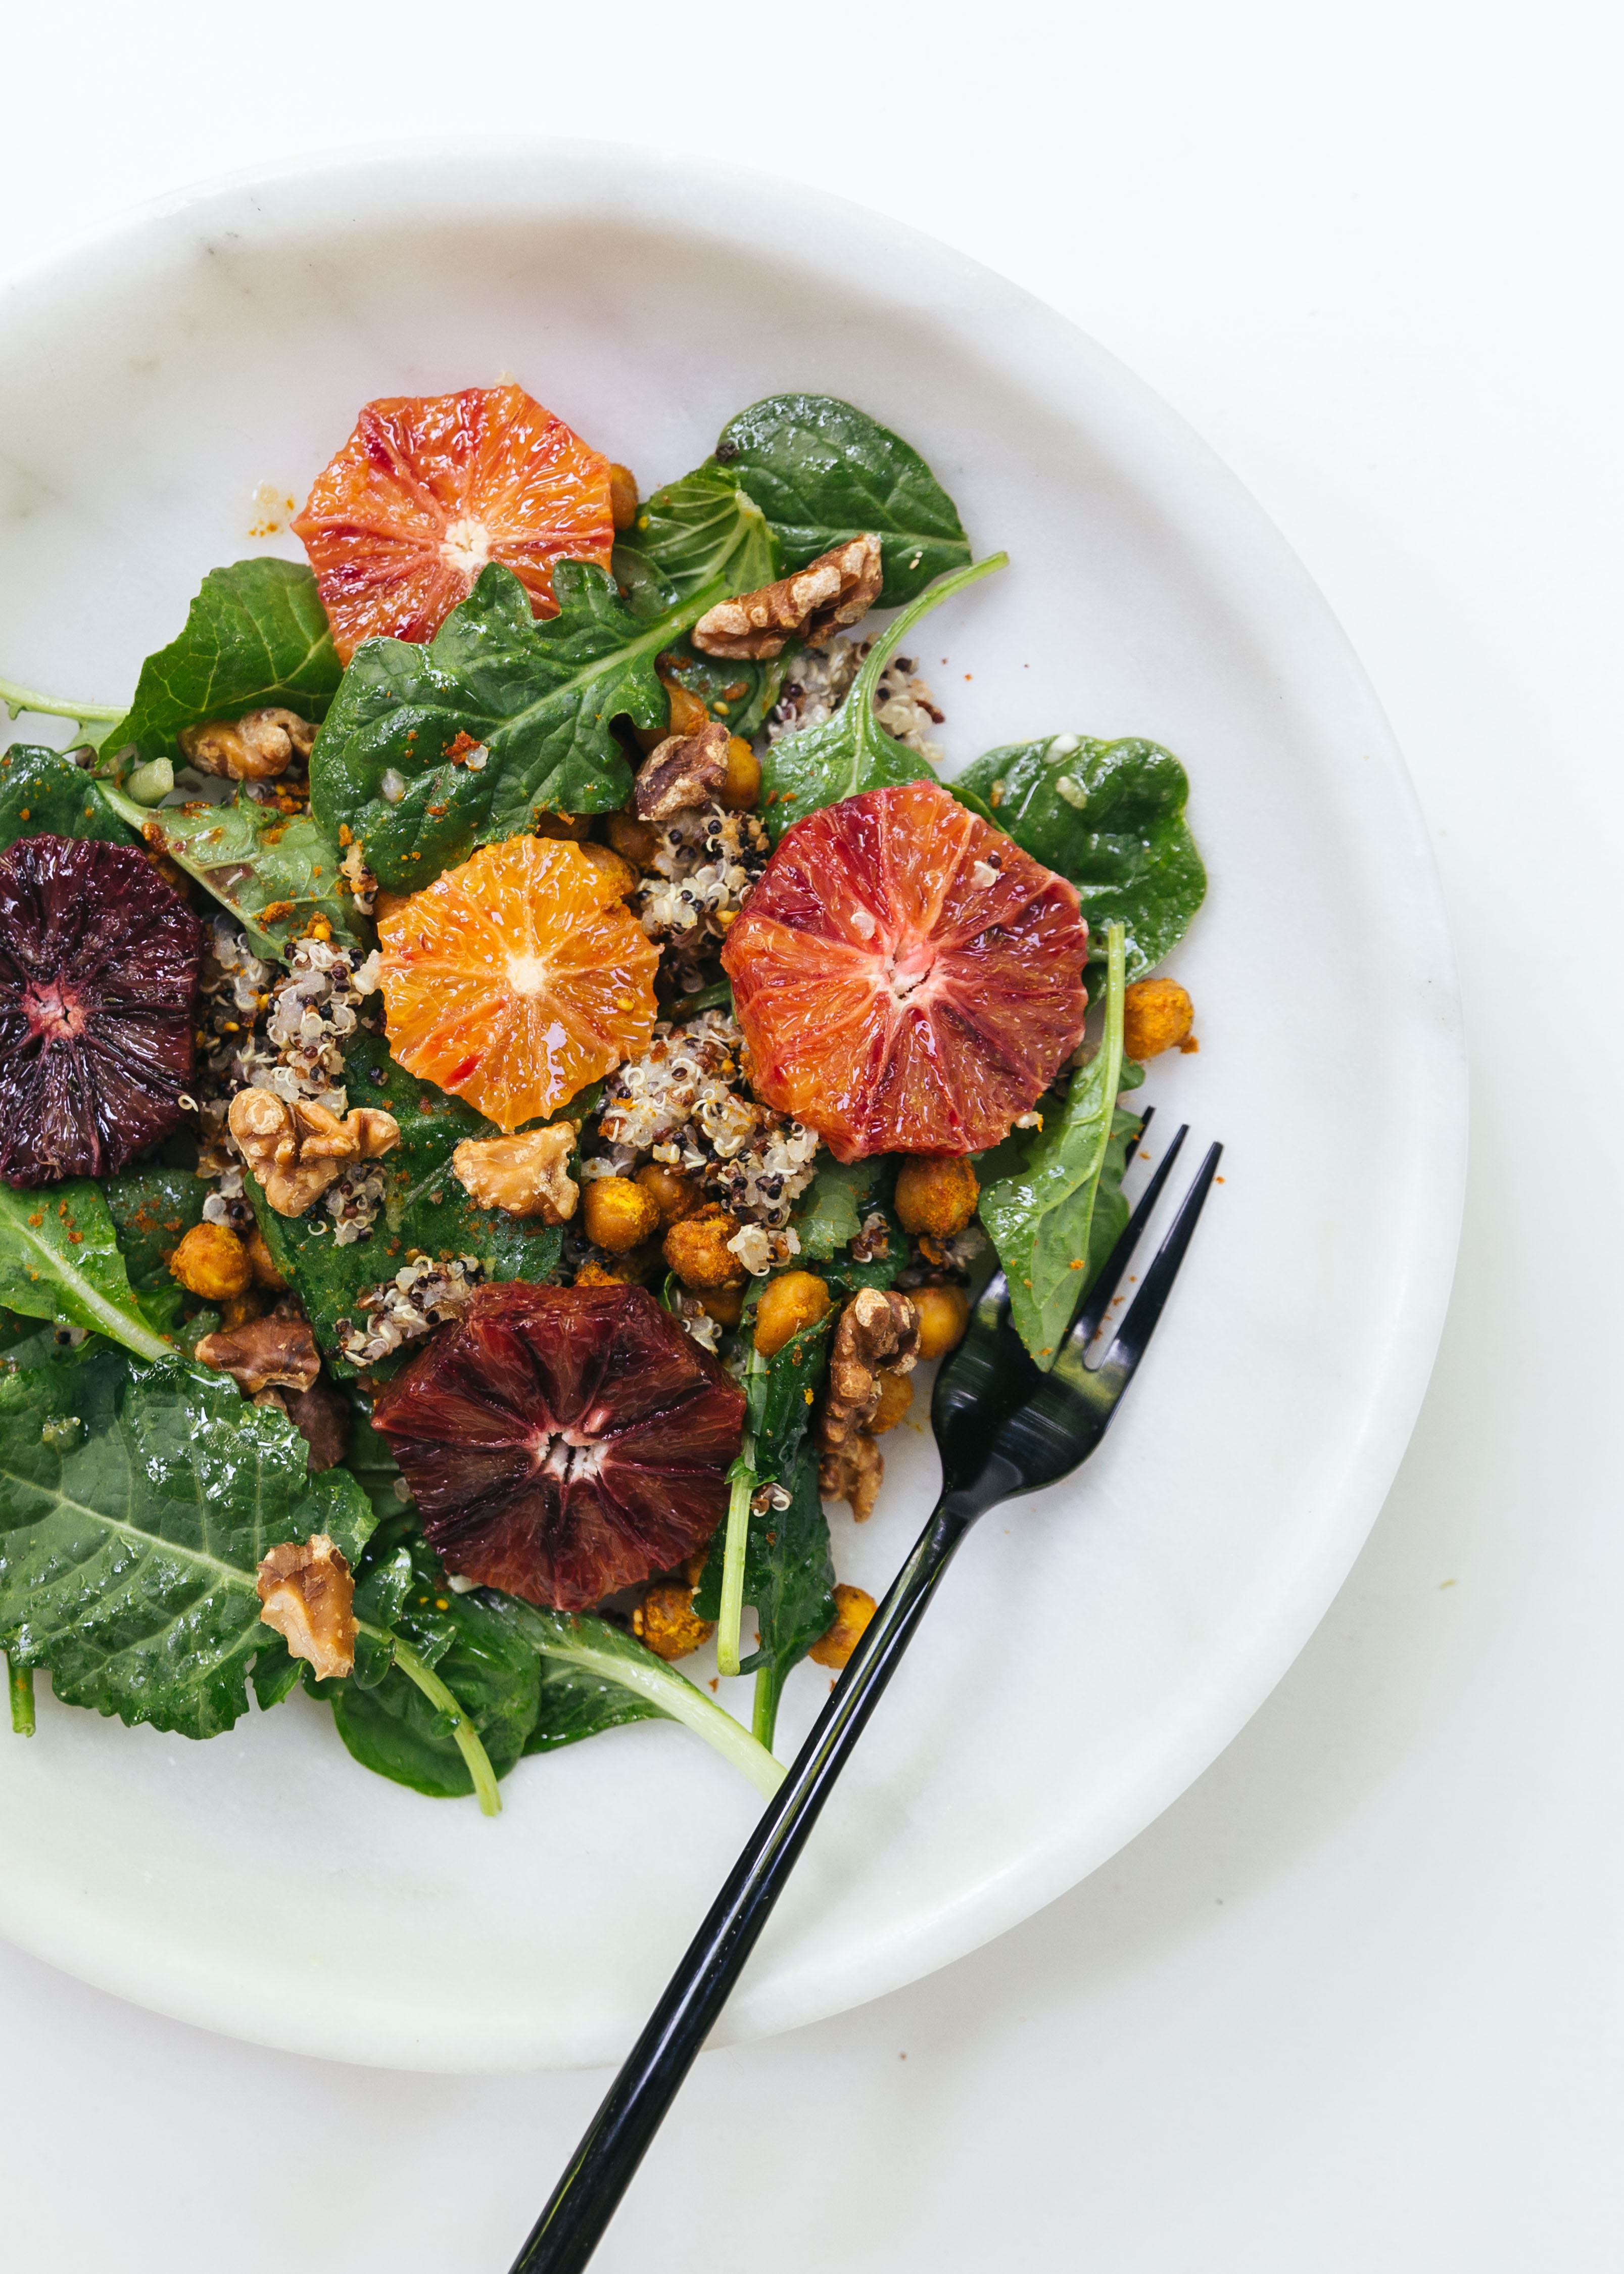
To celebrate being Canadian, I’ve put together a salad featuring all of my favourite things. With the addition of blood oranges because they are photogenic. If you had passed me a bowl of this salad to my 10-year-old self. I would probably have rolled my eyes at you and walked out to the street to buy noodle soup (米粉湯) and boiled tofu(油豆腐). The fact that I can love eating this now means that I am most definitely, finally, and proudly — Canadian.


A Vancouver Salad — with roasted chickpeas, quinoa, and blood orange

Salad body
1 can cooked chickpeas
1 tsp seasoning of choice ( I love chopped garlic, smoked paprika, chili and sesame seeds)
3 blood oranges
1/2 cup of quinoa
1 bag of organic greens
A handful of walnuts, toasted

Dressing:
1 whole lemon
Olive oil
Salt + Pepper
Few cloves of garlic

Instructions:

  1. Preheat oven to 400 degrees F.
  2. Cook Quinoa: Add 1/2 cup quinoa with 1 cup water in a medium pan. Bring to a boil. Cover, reduce heat to low and simmer until quinoa is tender, about 15 minutes. Fluff with a fork.
  3. Rinse chickpeas. Dry them off with a paper towel. Toss chickpeas with 1 tsp oil and 1 tsp seasoning (I used chili, turmeric, paprika and sesame seeds for this batch). Spread on a pan and bake for 20 mins or until browned and crispy. Allow chickpeas to cool before tossing into salad.
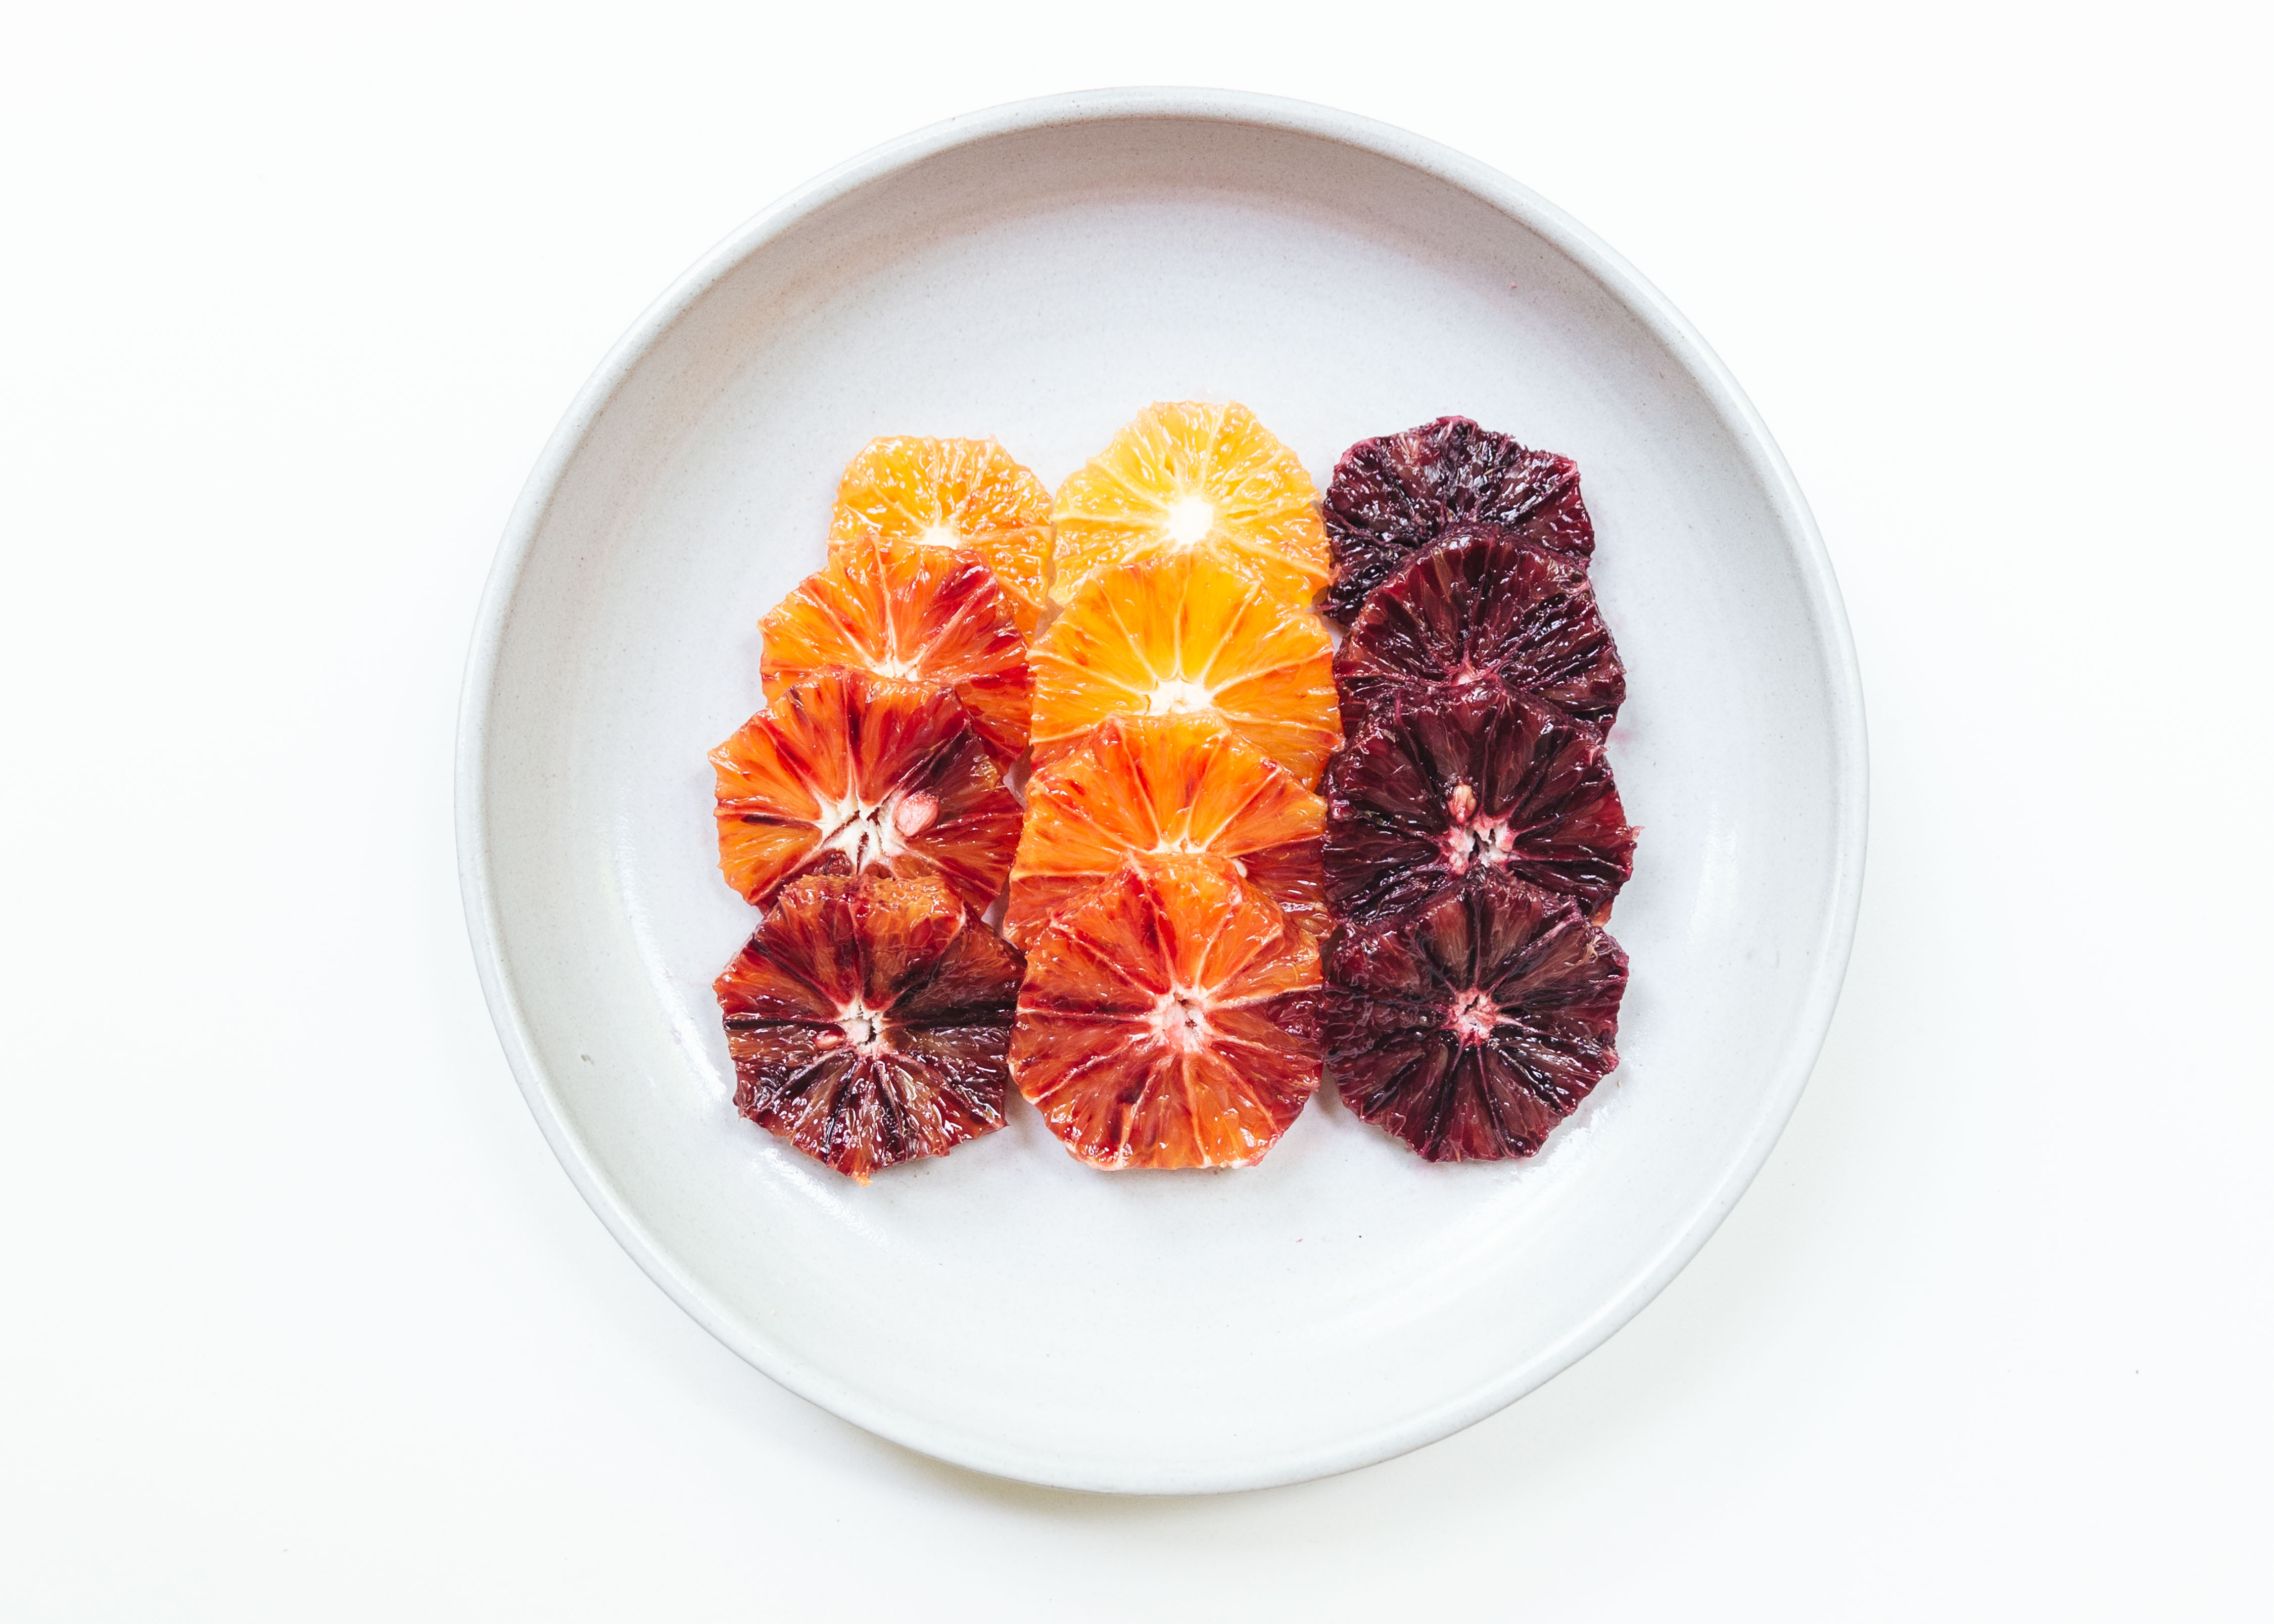
  4. Slice blood oranges. Cut two ends of orange and lay on the cut side (refer to image above). Hold and slice the peel around the orange. Do not be afraid to cut into the flesh. Cut peeled oranges into slices. It will take a few tries.
  5. Toss greens, quinoa, roasted chickpeas, dressing into a bowl. Top with blood orange slices and roasted walnuts. If you are taking the salad to a party, reserve roasted walnuts and chickpeas in a bag until ready to be served. They are better crispy.

*Quinoa cooking tips adapted from The Kitchn